This recipe was born as many others that I make, out of the need to save some food from the fridge, as I try my best to avoid food waste. One of the reasons I started this blog, was to show you that you can make amazing things out of the things you may have laying around in your cupboards or fridge, and you can adapt and create new recipes.
So, I had some cottage cheese in the fridge, and we were about to leave in a mini vacation in the mountains, so I wanted to use up what could go bad while we were away. I had some dill in the freezer, but not enough cheese to make other things that I usually make out of it. So, I thought I can make some savory pockets out of the flatbread dough that I normally make and this cheese.
This is a very easy recipe, takes me about 30 mins to finish, so I will just start with the ingredients you need.
Ingredients:
- Dough:
- 150g flour
- 90g milk
- 25g butter
- 3g salt
- Filling:
- 200g cottage cheese
- a handful of dill
- pinch of salt
- 1 egg
- 1/2 tsp tapioca starch (optional)
Method:
- First I make the dough. I add all the ingredients in a bowl and start mixing by hand. I knead until I have quite a smooth dough, it comes together quite quick. Then I let it rest while I take care of the filling.
- I chop the dill. In a bowl I add the cheese, the dill, some salt and mix. I give it a taste to see if it is salty enough and then I add the egg.
- One thing that I did not do the first time I made this, but I did it the last two times, was to add half a teaspoon of tapioca starch. You may ask why? Well, by the same principle where we add starch to our fruit pies/galettes/tartes to thicken the mixture that is too fluid or to absorb some of the liquid, here we need it because while cooking, the cottage cheese will free some liquid. That liquid will be in your dough pockets, making them soggy or you will have it dripping once you start eating. This bit of starch saves you from that inconvenience.
- Now that we have everything prepared, it is time to make the pockets. One step will be separating the dough into small balls. It depends how big or how many you want to make. I sometimes go for 6 bigger ones, otherwise I just make them smaller.
- Take one ball of though and roll to a thin circle. The dough should be 2-3 mm thick after rolling.
- Add some filling on the bottom half of the circle. Make sure to leave the edges, about half a centimeter uncovered so that you can seal the pockets.
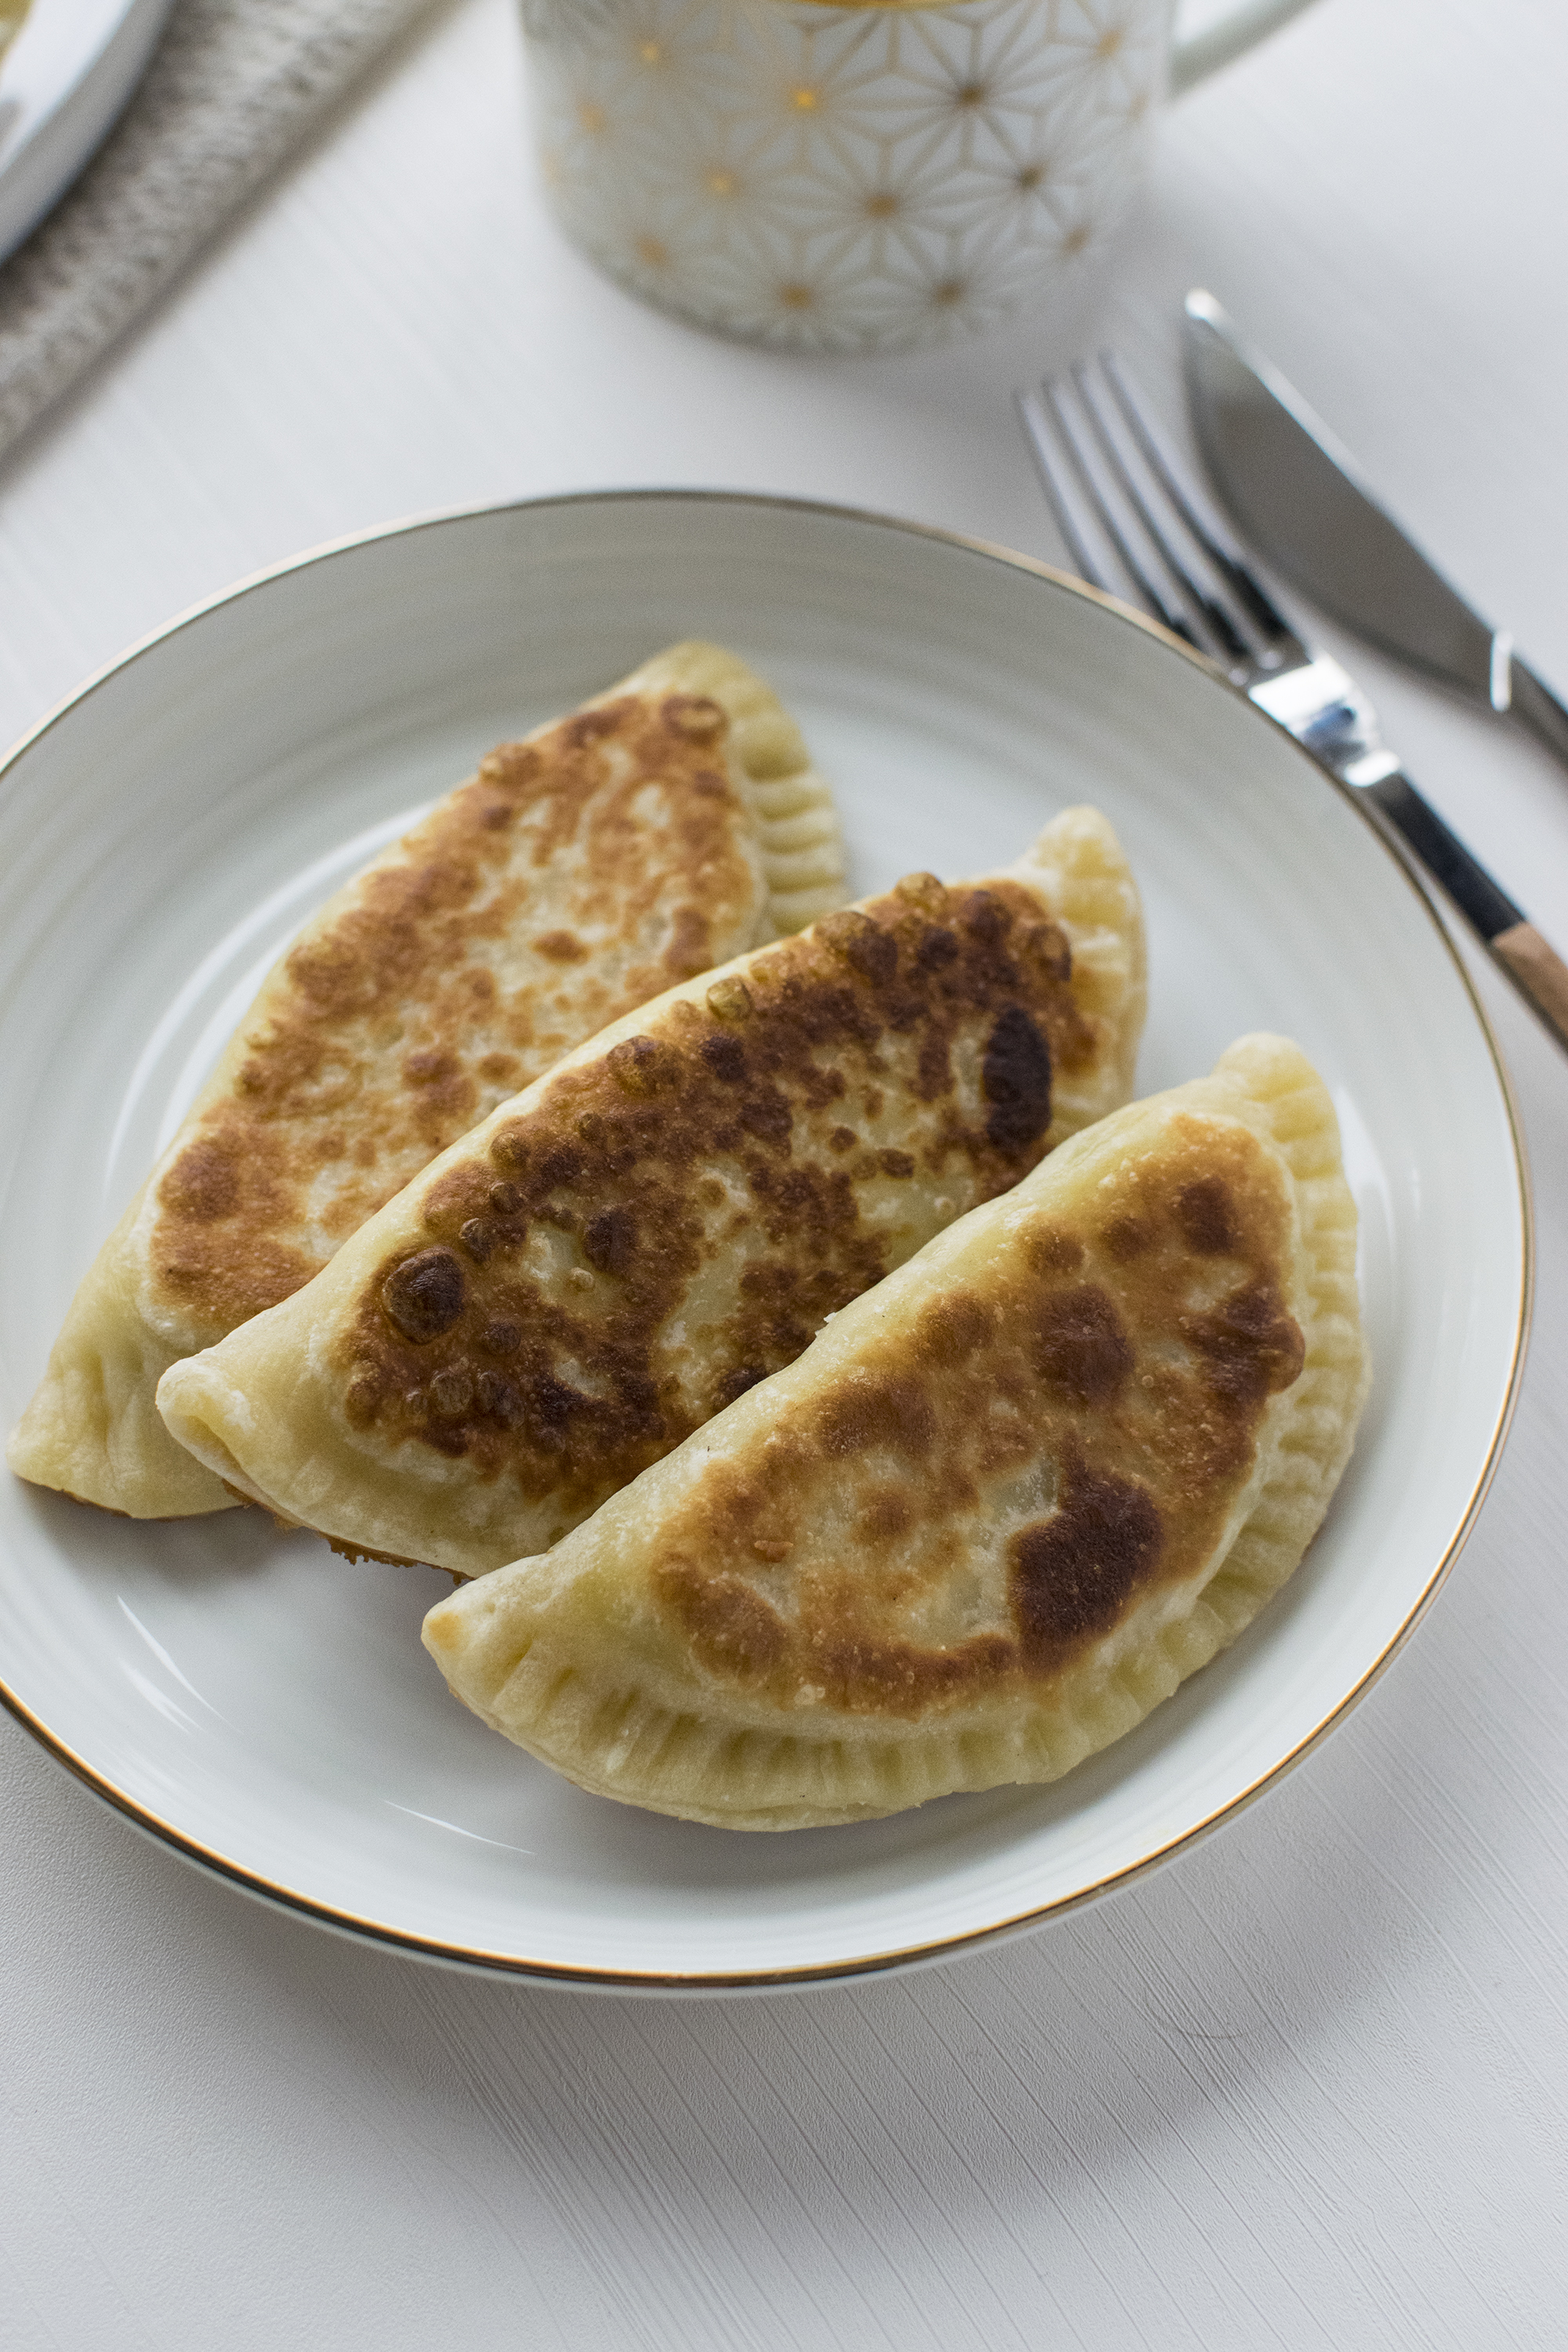
- Bring the upper part over the filling, pressing the edges lightly with your fingers. What I like to do next is to take a fork and press the edges. This not only seals the two pieces of dough very well, but it also creates a nice design.
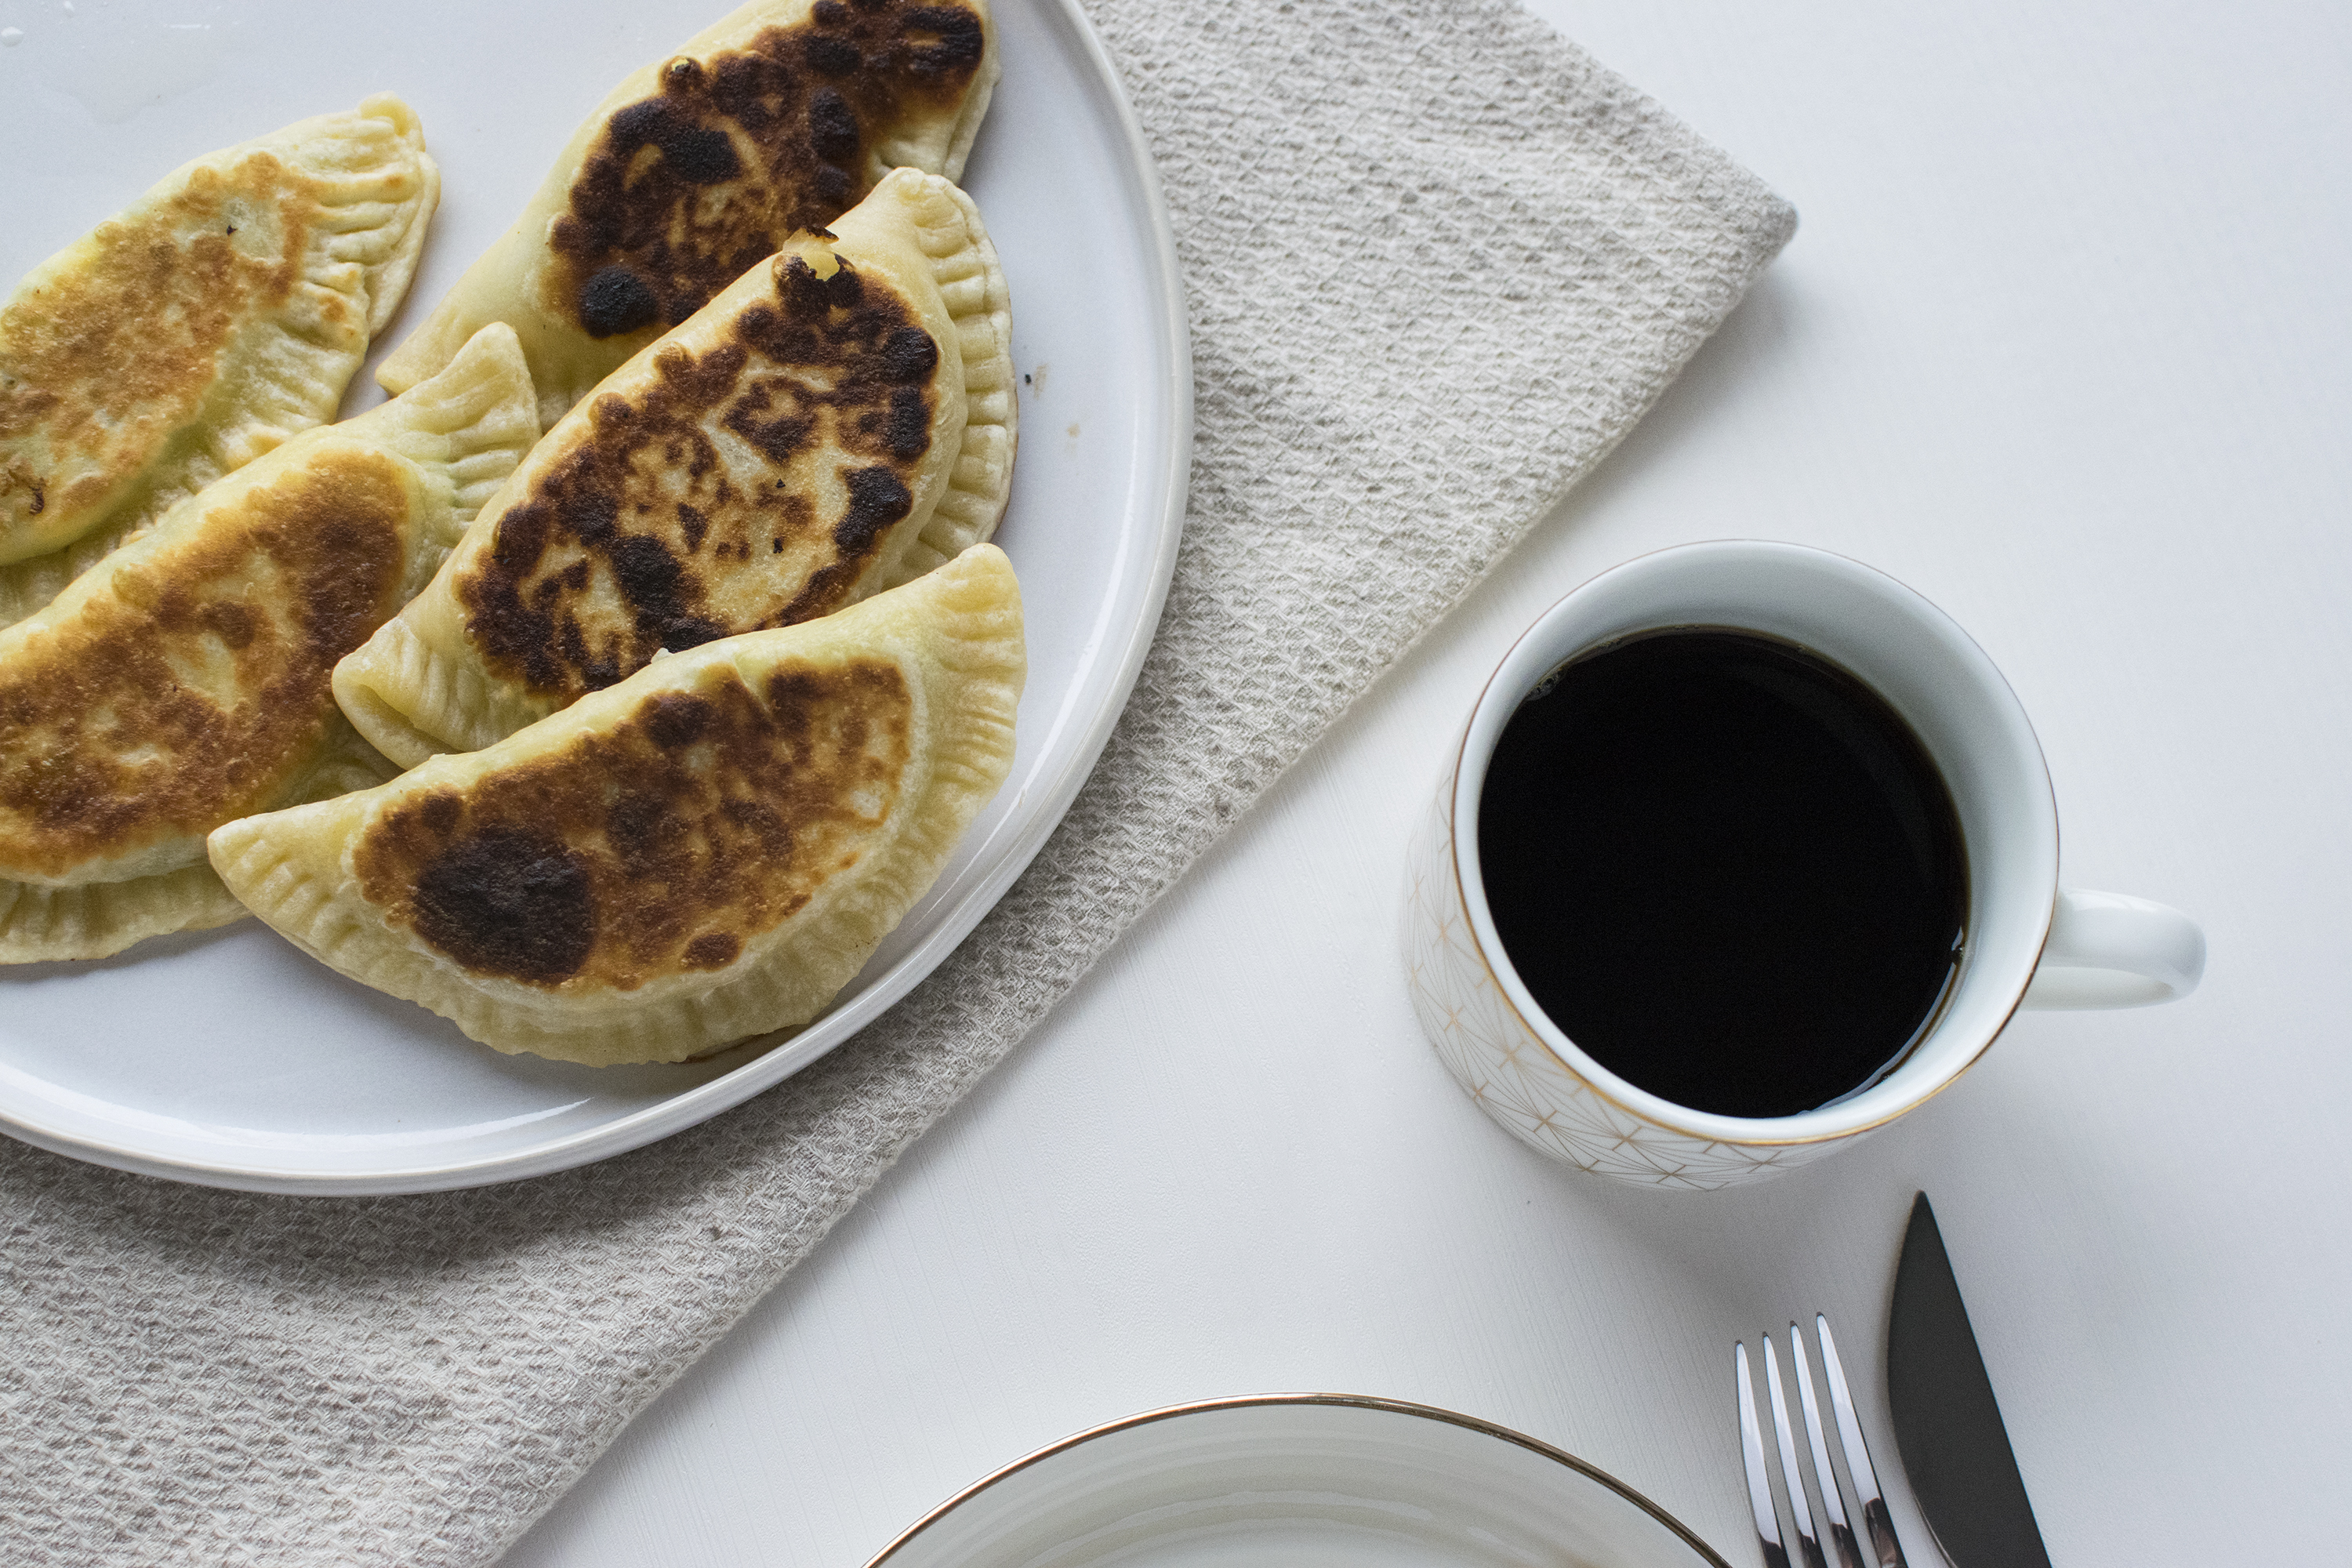
- Now it is time to cook. You can use any pan, I sometimes make them in a cast iron pan, other times in a ceramic one. It is important that you use a bit of oil in the pan. When the pan is hot, add one or more little pockets if they fit and cover with a lid. I let them cook with the lid on for a few minutes. Use medium to low heat so that you don’t burn them and the interior has time to cook.
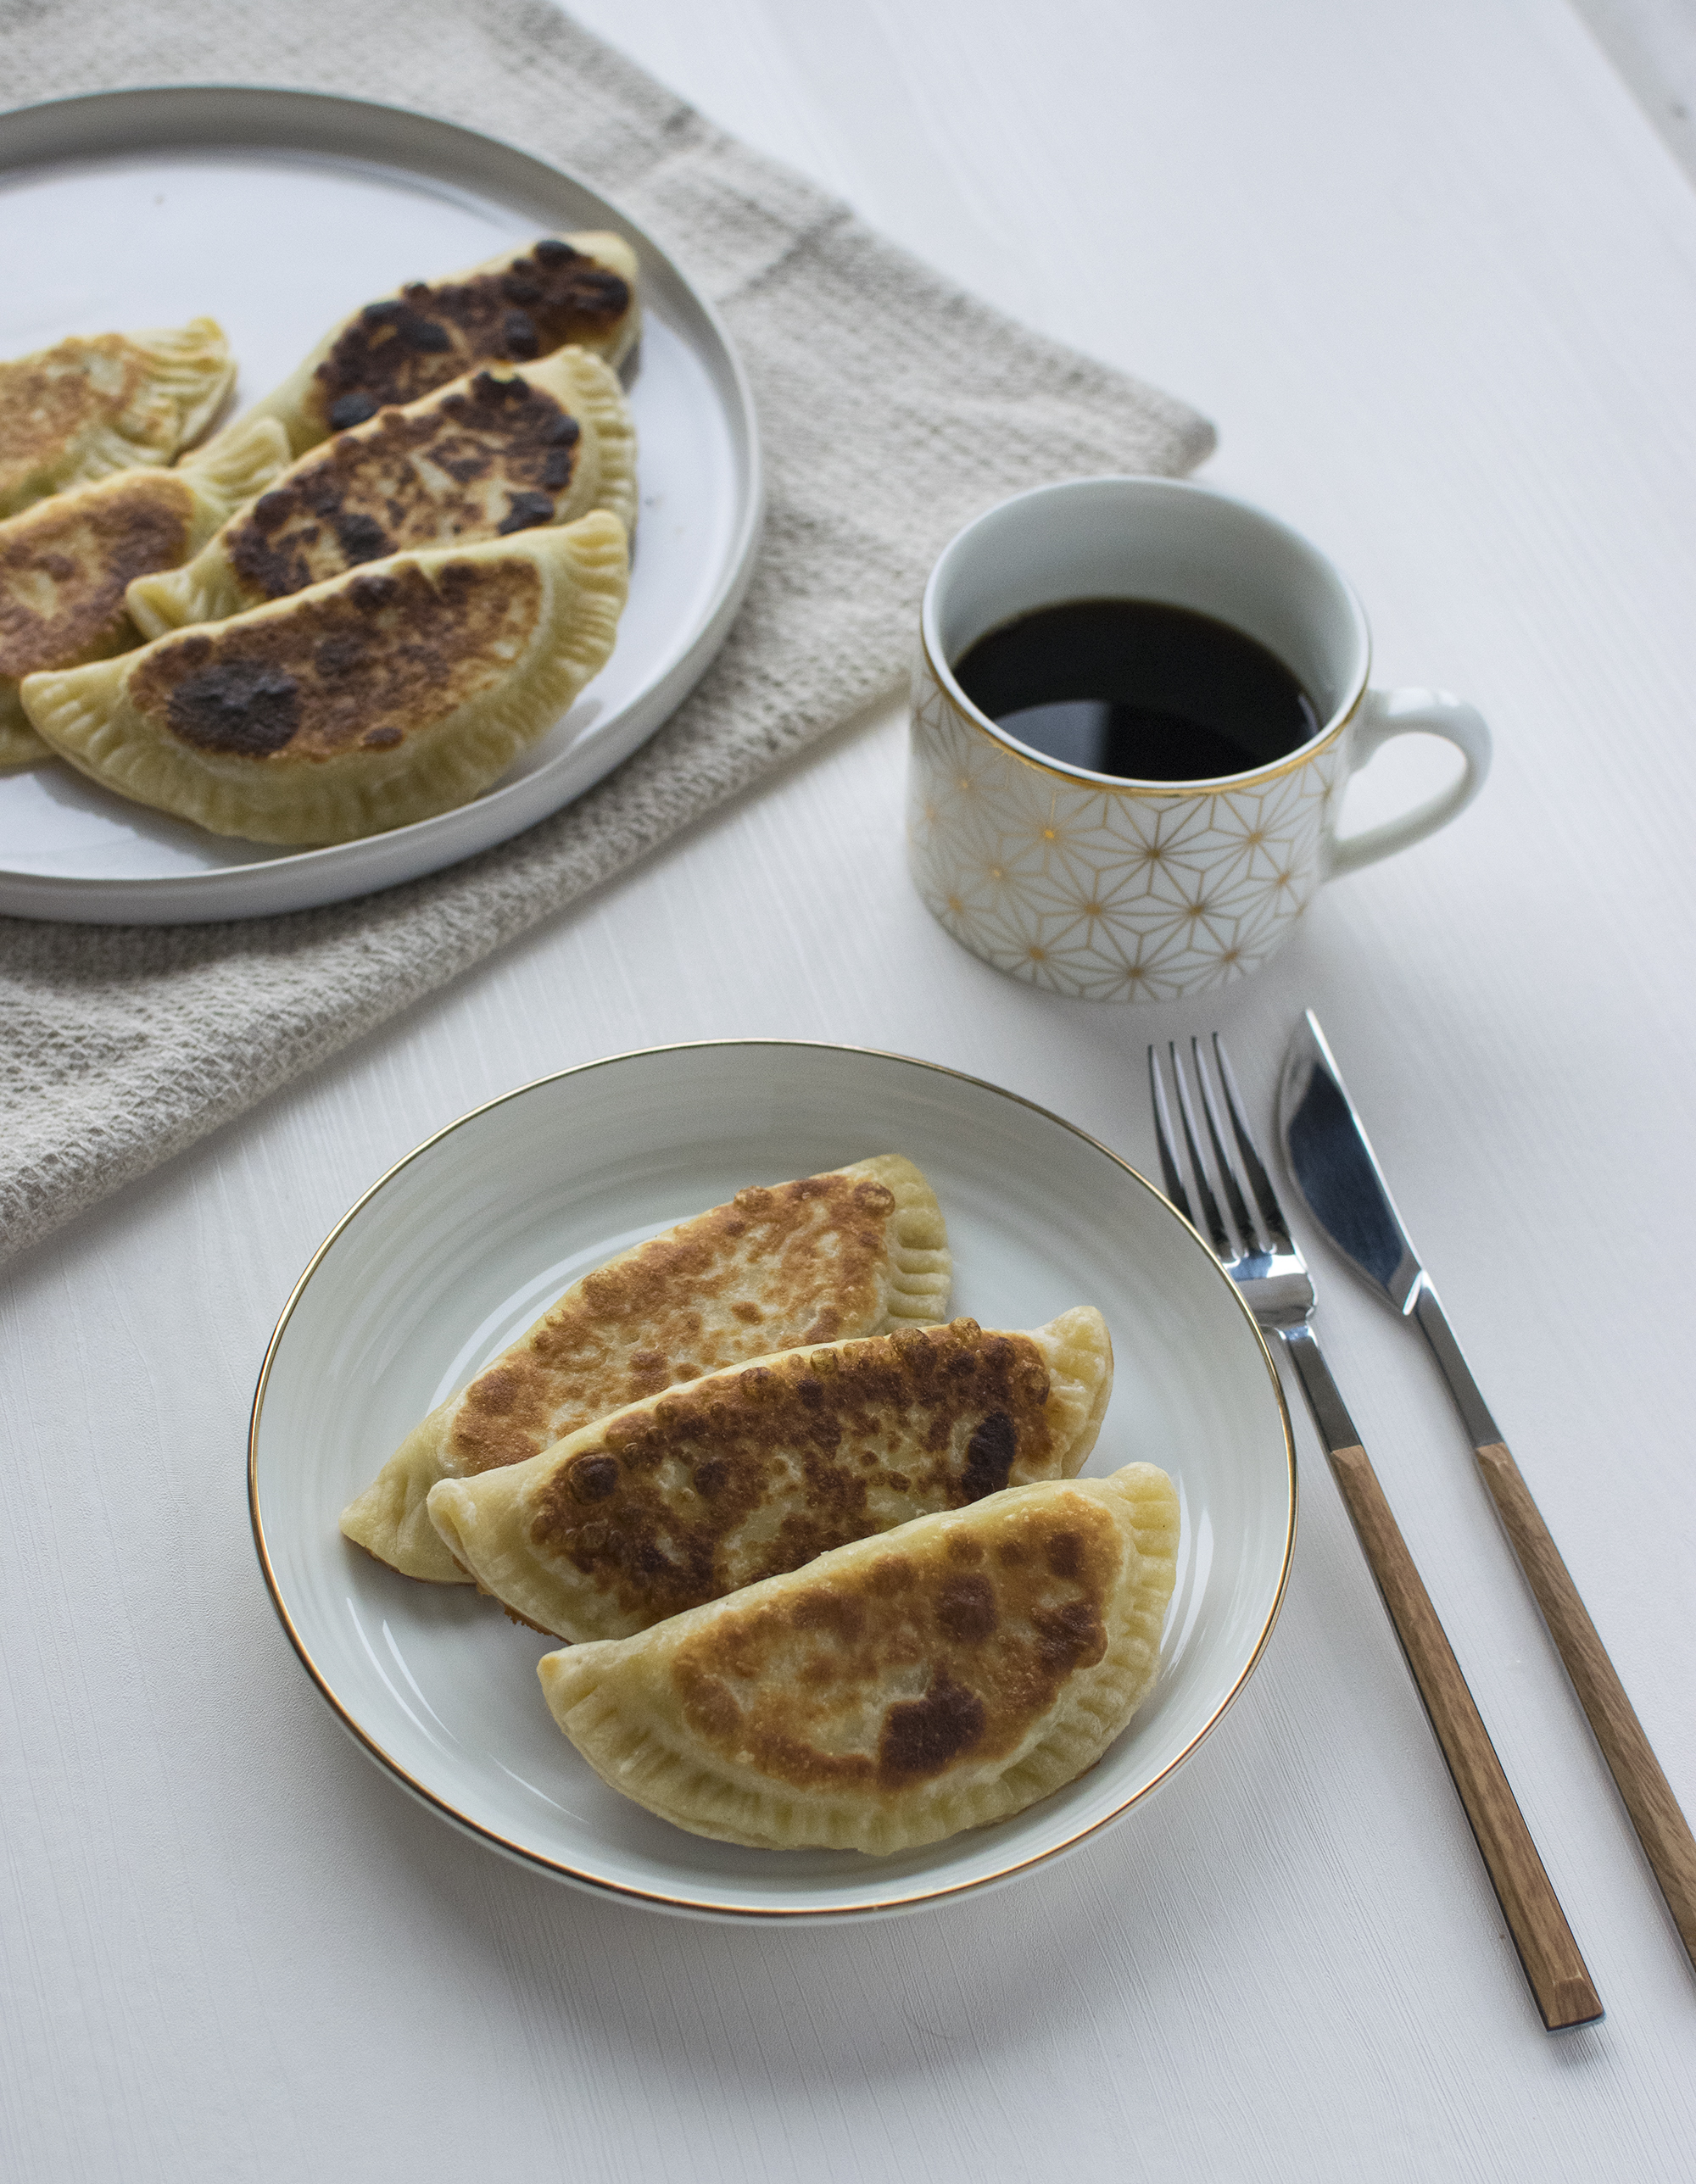
- When they start to have nice brown spots, flip them and cover again and let it cook until it gets to have nice brown spots on the other side as well.
- Now repeat with the other balls of dough.

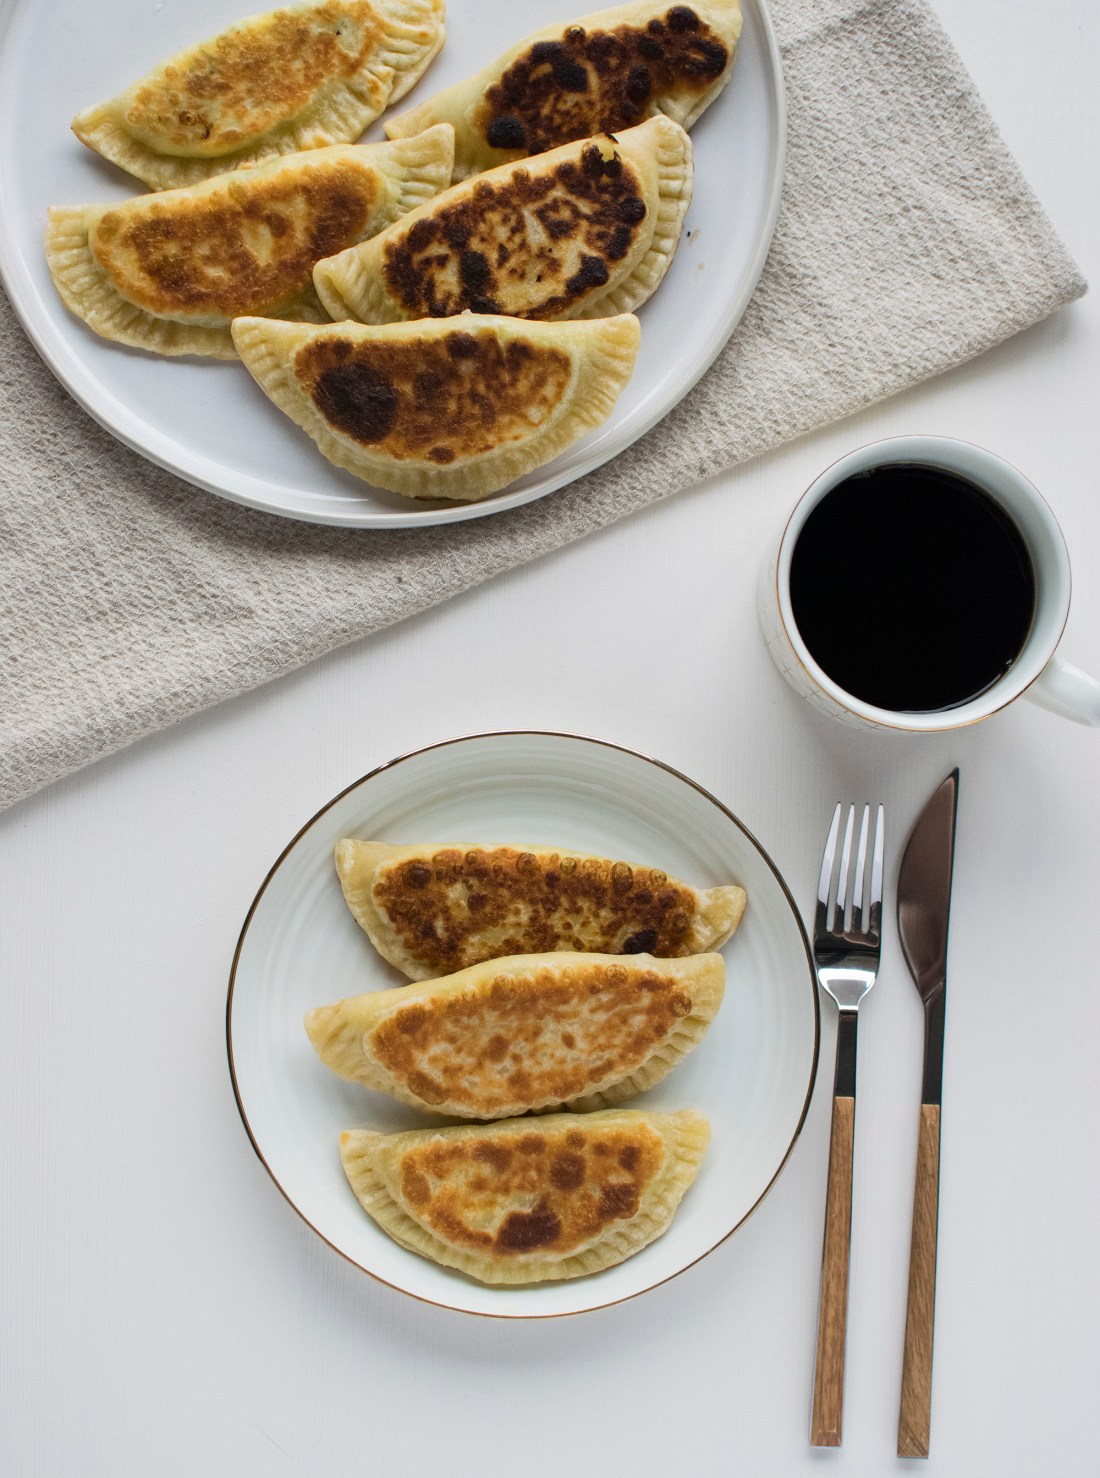
And this was it, told you it was easy. But just wait until you taste them. I had great feedback for these babies from my family, so I really hope you will like them too.
If you want to see a short video from when I first made these, you can find it here.
Don’t forget to follow me on Instagram for short videos and quick recipes @betterthansalads_

Such an interesting combination that is worth a try. Thanks
LikeLike
Yes, yes! I love this combination. Really recommend trying it 🙂
LikeLiked by 1 person