Making kimchi was a rollercoaster and it needed a few tries until I was pleased with what came out of it. The last time I made it I got the proportions right so that it is not too spicy, not too salty, not too gritty, so, I thought it was the right moment to share a recipe.
Kimchi is a fermented Korean side dish, and the most commonly known is the one containing Napa cabbage, but there are many versions of kimchi out there. I really want to try the cucumber version at one point, but first I wanted make this one as yummy as possible. The best part of kimchi is the versatility, you can have it just as it is, as a side to other dishes, or you can make it the star of your meal by adding it in as a ingredient in stews, fried rice, noodles, dumplings, and many others.

Let’s get the basics right and then we will experiment together with kimchi recipes.
Main things to keep in mind:
- You will need a jar (or more) or some sort of tupperware to store it. Make sure it is glass, or plastic, but not metal. We are going to ferment our cabbage and you don’t want it to react with the metal.
- Originally, Kimchi recipes use seafood in the fermentation process. In my recipe we will not use any, and you can skip the fish sauce and make it completely vegan if you want.
- I know that some recipes mention the use of sugar. I would not advise that. Sugar will make your kimchi last less and messes with your fermentation process.
Ingredients:
- 1 Napa cabbage – 960g
- 40g gochugaru (Korean chili flakes)
- 3 scallions
- 100g daikon raddish
- 60g salt
- 1 Nashi pear (you can substitute with apple)
- 1 carrot
- 15g ginger
- 15g garlic
- 30 ml (2 tablespoons) of fish sauce
- 1 red onion
Rice porridge:
- 20g glutinous rice flour
- 200g water


Method:
- Prep the cabbage by cutting it in halves. Wash the cabbage to remove any possible dirt. You can either cut the cabbage in small pieces, or you can cut it in quarters. From my experience, it is much easier to just chop it from the start.
- Add the cabbage in a big bowl. If you cut it in small pieces, just add the salt and gently massage the cabbage with the salt. If you decide that you want to make the version with the quartered cabbage, you will have to add the salt between the leaves, layer by layer.
- After the cabbage is salted, add something to cover it and weigh it down. Let it sit like this until the water comes out of the cabbage, somewhere around 2 hours.
- After the cabbage has left quite a lot of water out, and the hard parts have become somehow bendable, it is time to wash it. You want to remove excess salt, otherwise it will be too salty. My advice would be to taste it. Taste it before you wash it, even though it will be too salty. Then wash it and taste it again. If it is still too salty, you wash it again. It still has to be salty, because if you remove too much salt, it will not hold up for long after the fermentation process. For me, the sweet spot was a bit too salty to eat as it is, but not as salty as the first taste.
- Drain and gently squeeze the water excess from the cabbage and add it in a big bowl. Again, you want to use plastic, or maybe glass, but not metal.
- Rice Porridge. I have seen some articles mentioning that you don’t need the rice flour porridge, and people that say that if you don’t have this you cannot call your kimchi, kimchi. So, I decided to try to respect the process as much as I can (as I do with all the Asian dishes that I make). For the rice porridge I used 20g glutinous rice flour and 200ml water. I heated the water, added the flour and mixed with a whisk until it got together. Once it was a nice paste, I stopped the heat and left it to cool.
- Prep the veggies. While the paste is chillin’ we can prep the rest of the veggies. I grated the carrot, chopped the green onion and cut the daikon radish julienne. For the rest, I popped out the food processor. I added in the pear, ginger, red onion and garlic and transformed them into almost a paste.
- Over the rice porridge I added the chili flakes, onion, pear, garlic mixture from above and the fish sauce. I mixed them well, and then added the carrot and green onions.
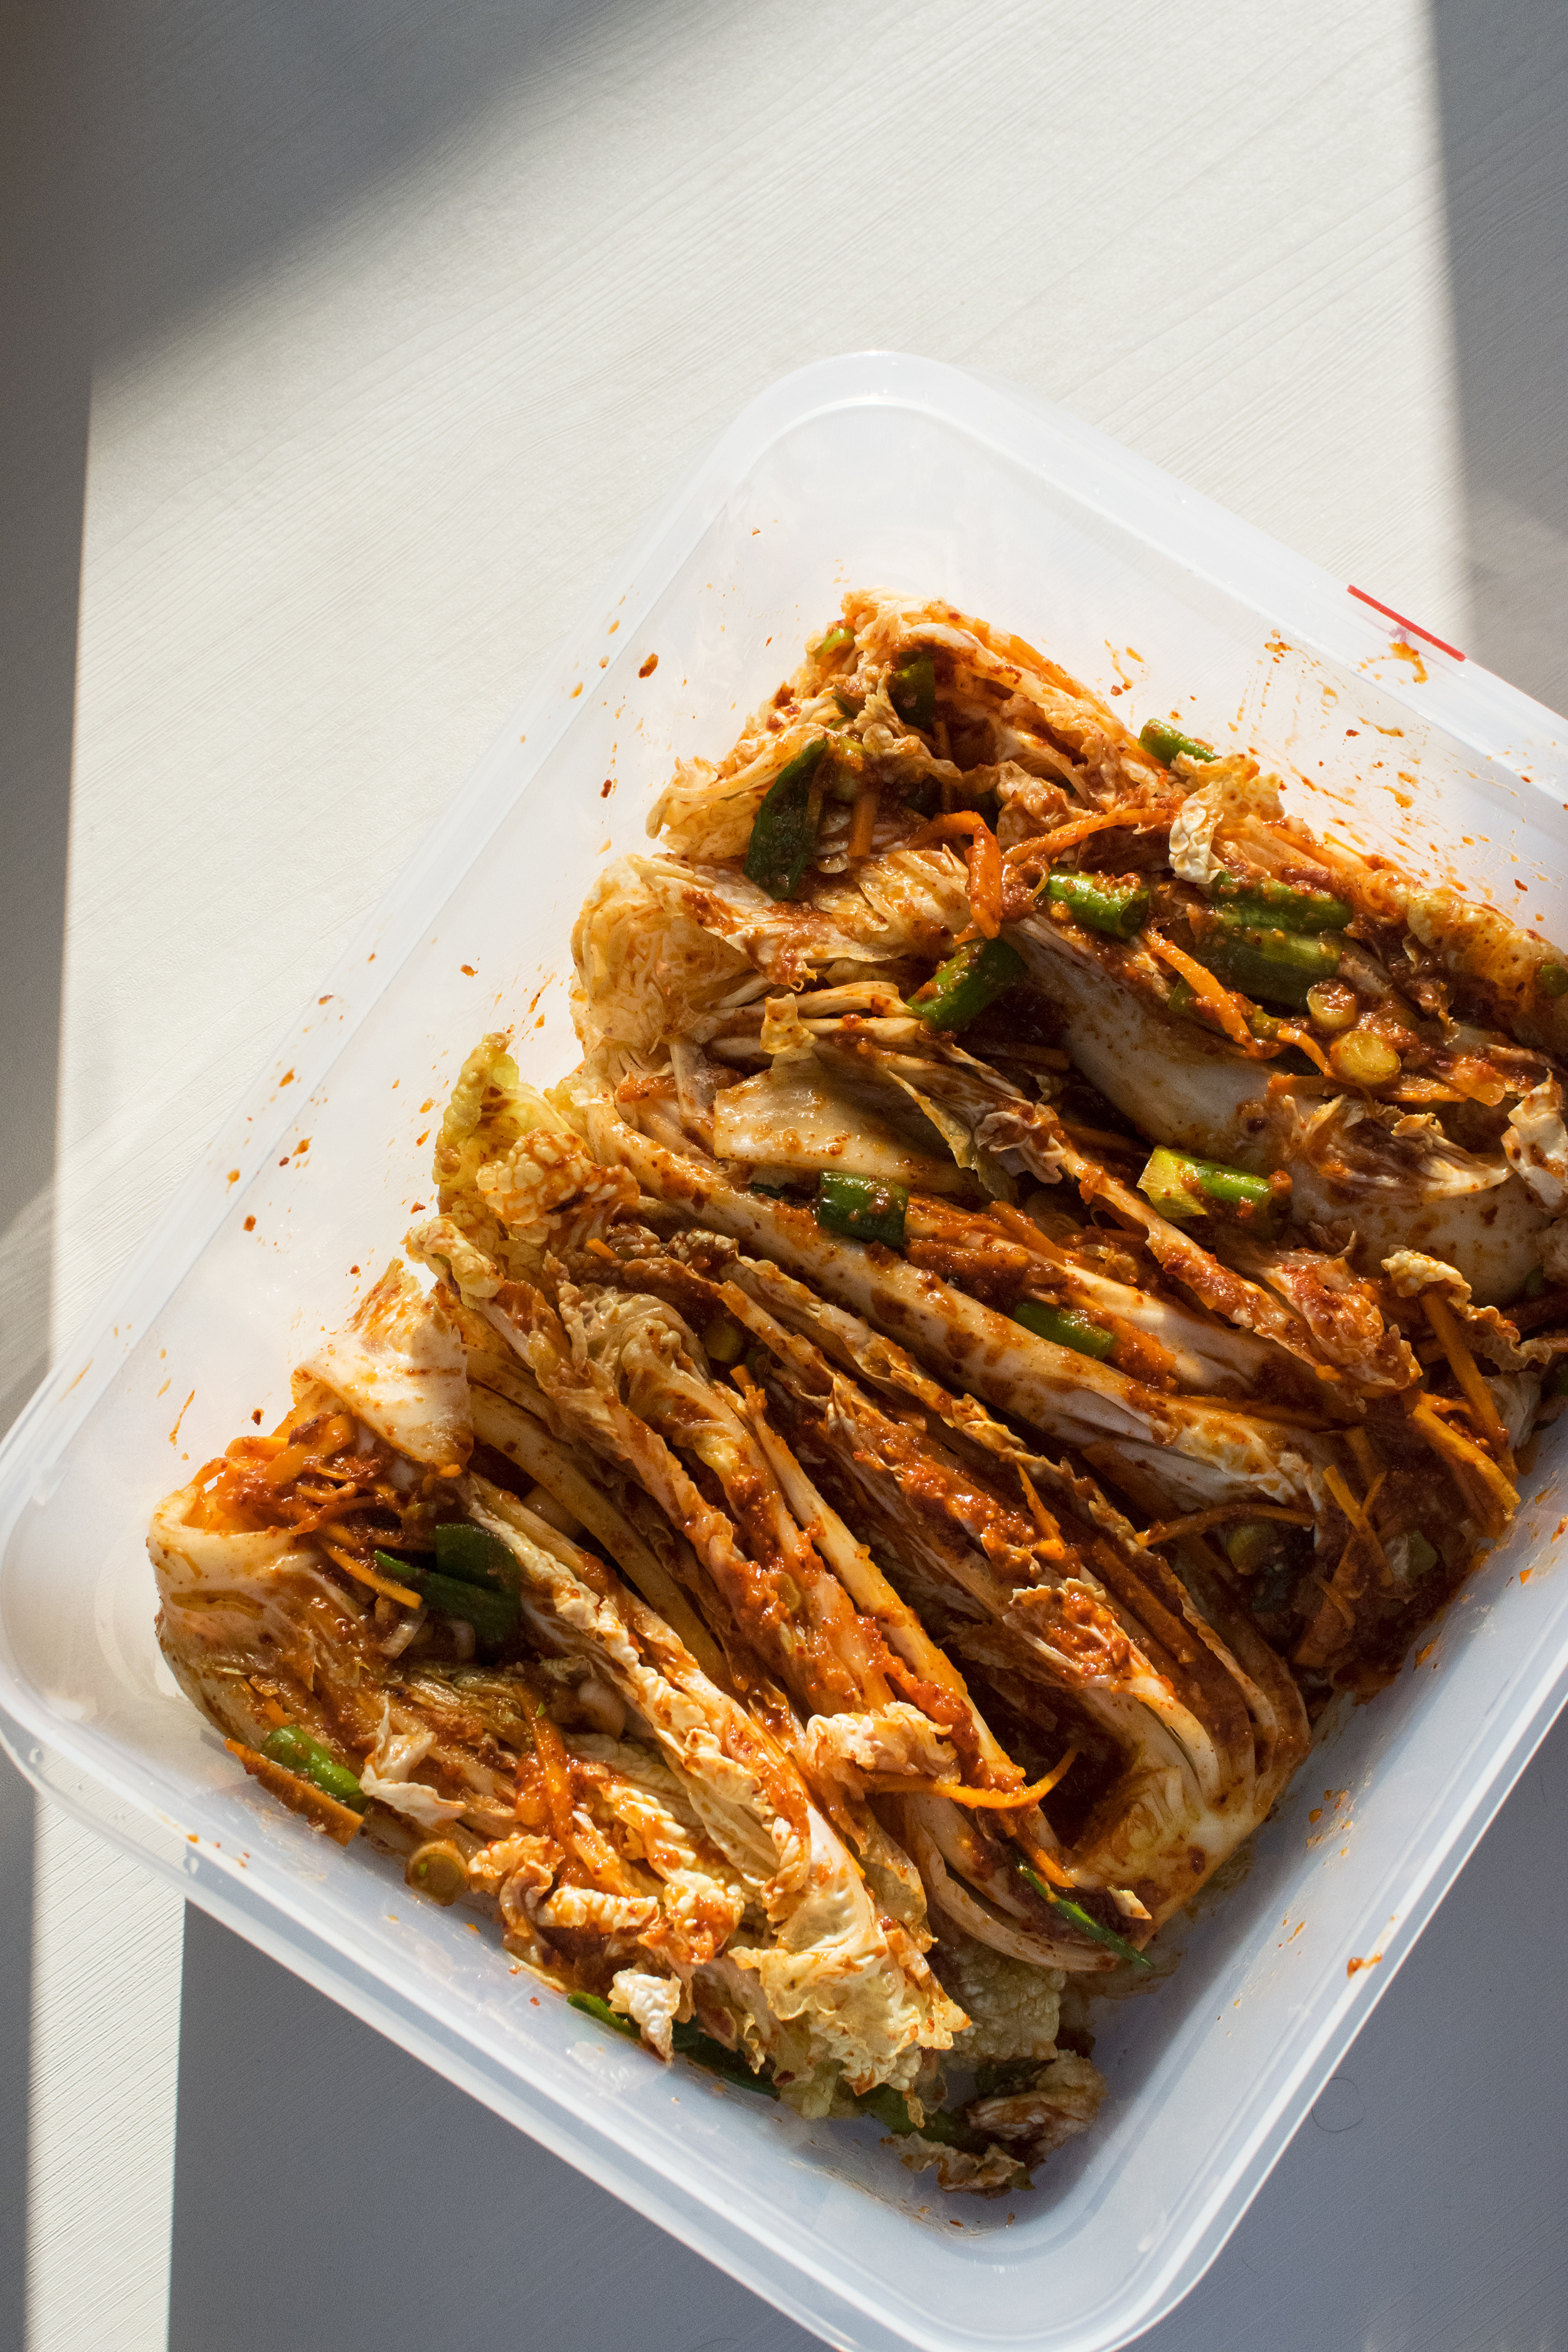
- Now that we have these together, it is time to mix them with the cabbage. If the cabbage is chopped, you will just pour it over and gently mix. This is Mak Kimchi. If you decided on the big cabbage quarters/halves, being Pogi Kimchi, then you will have to add the mixture between the leaves, gently rubbing them. Don’t squeeze the kimchi too hard, or treat it roughly.
- After it is all coated, I would recommend a taste again. This way you can check if it is spicy enough, salty enough (you can add more fish sauce to make it saltier), or you can add some sweetener. You can use some artificial sweetener, or so I have seen recommended, but I decided not to. The pear is sweet, the daikon radish is also slightly sweeter, and also the carrot; from my point of view it is sweet enough.
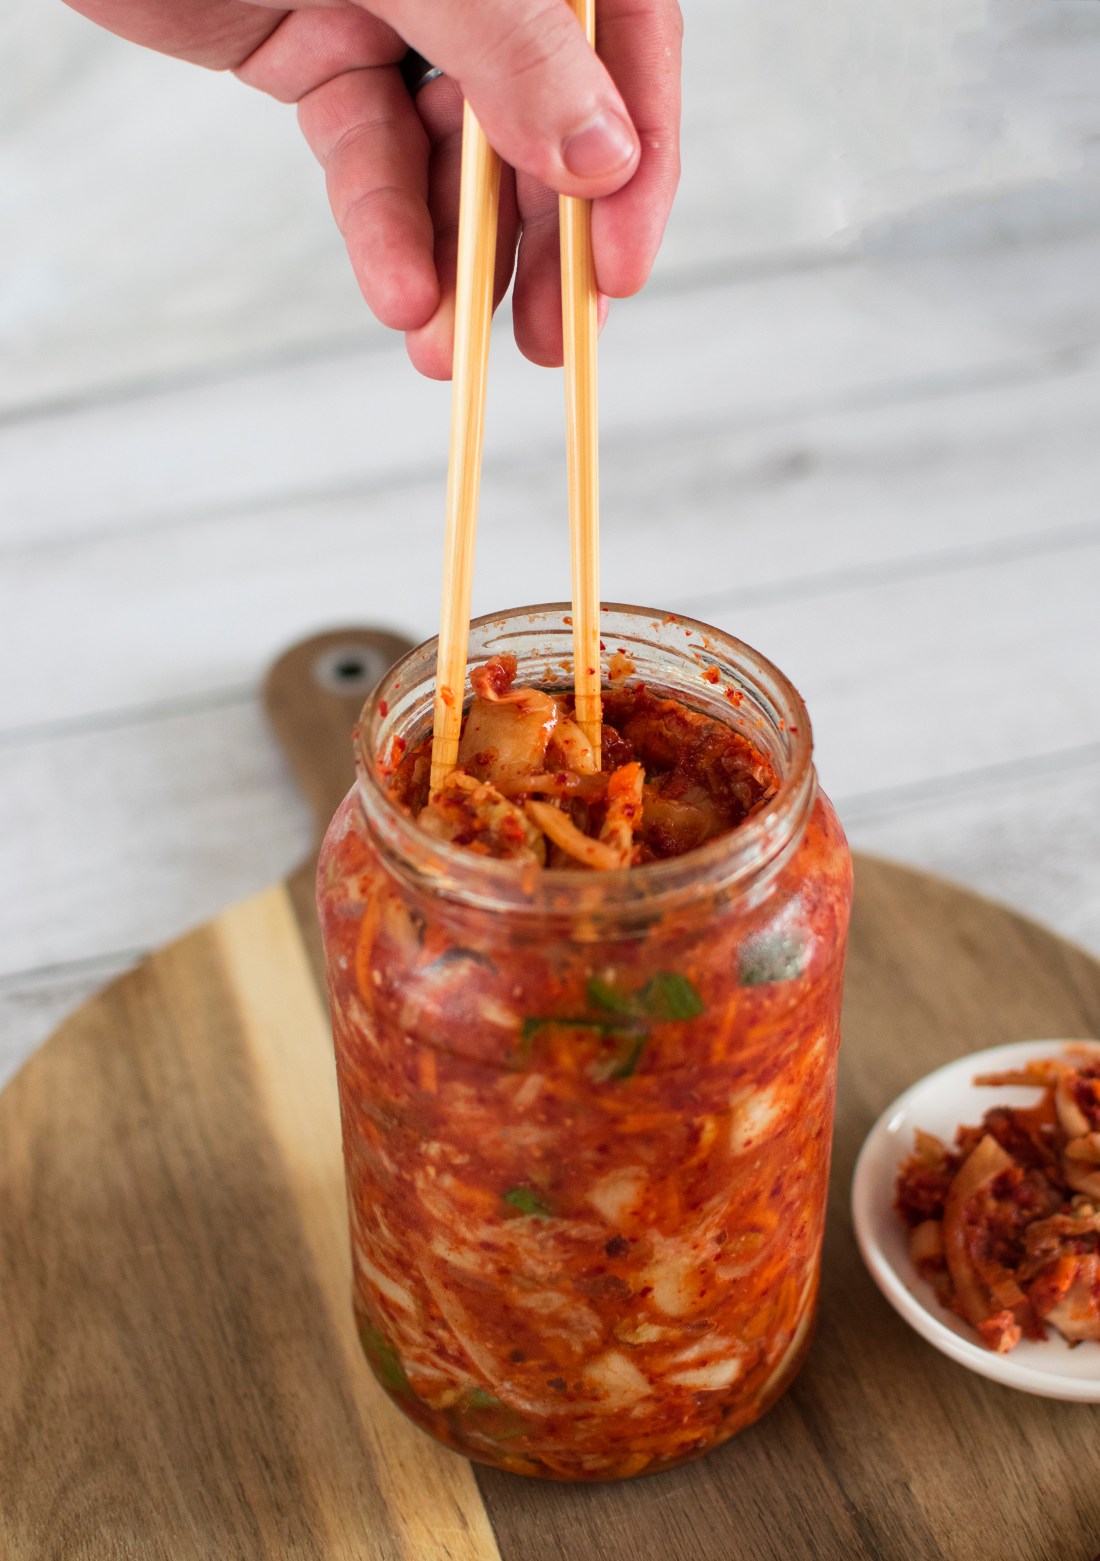
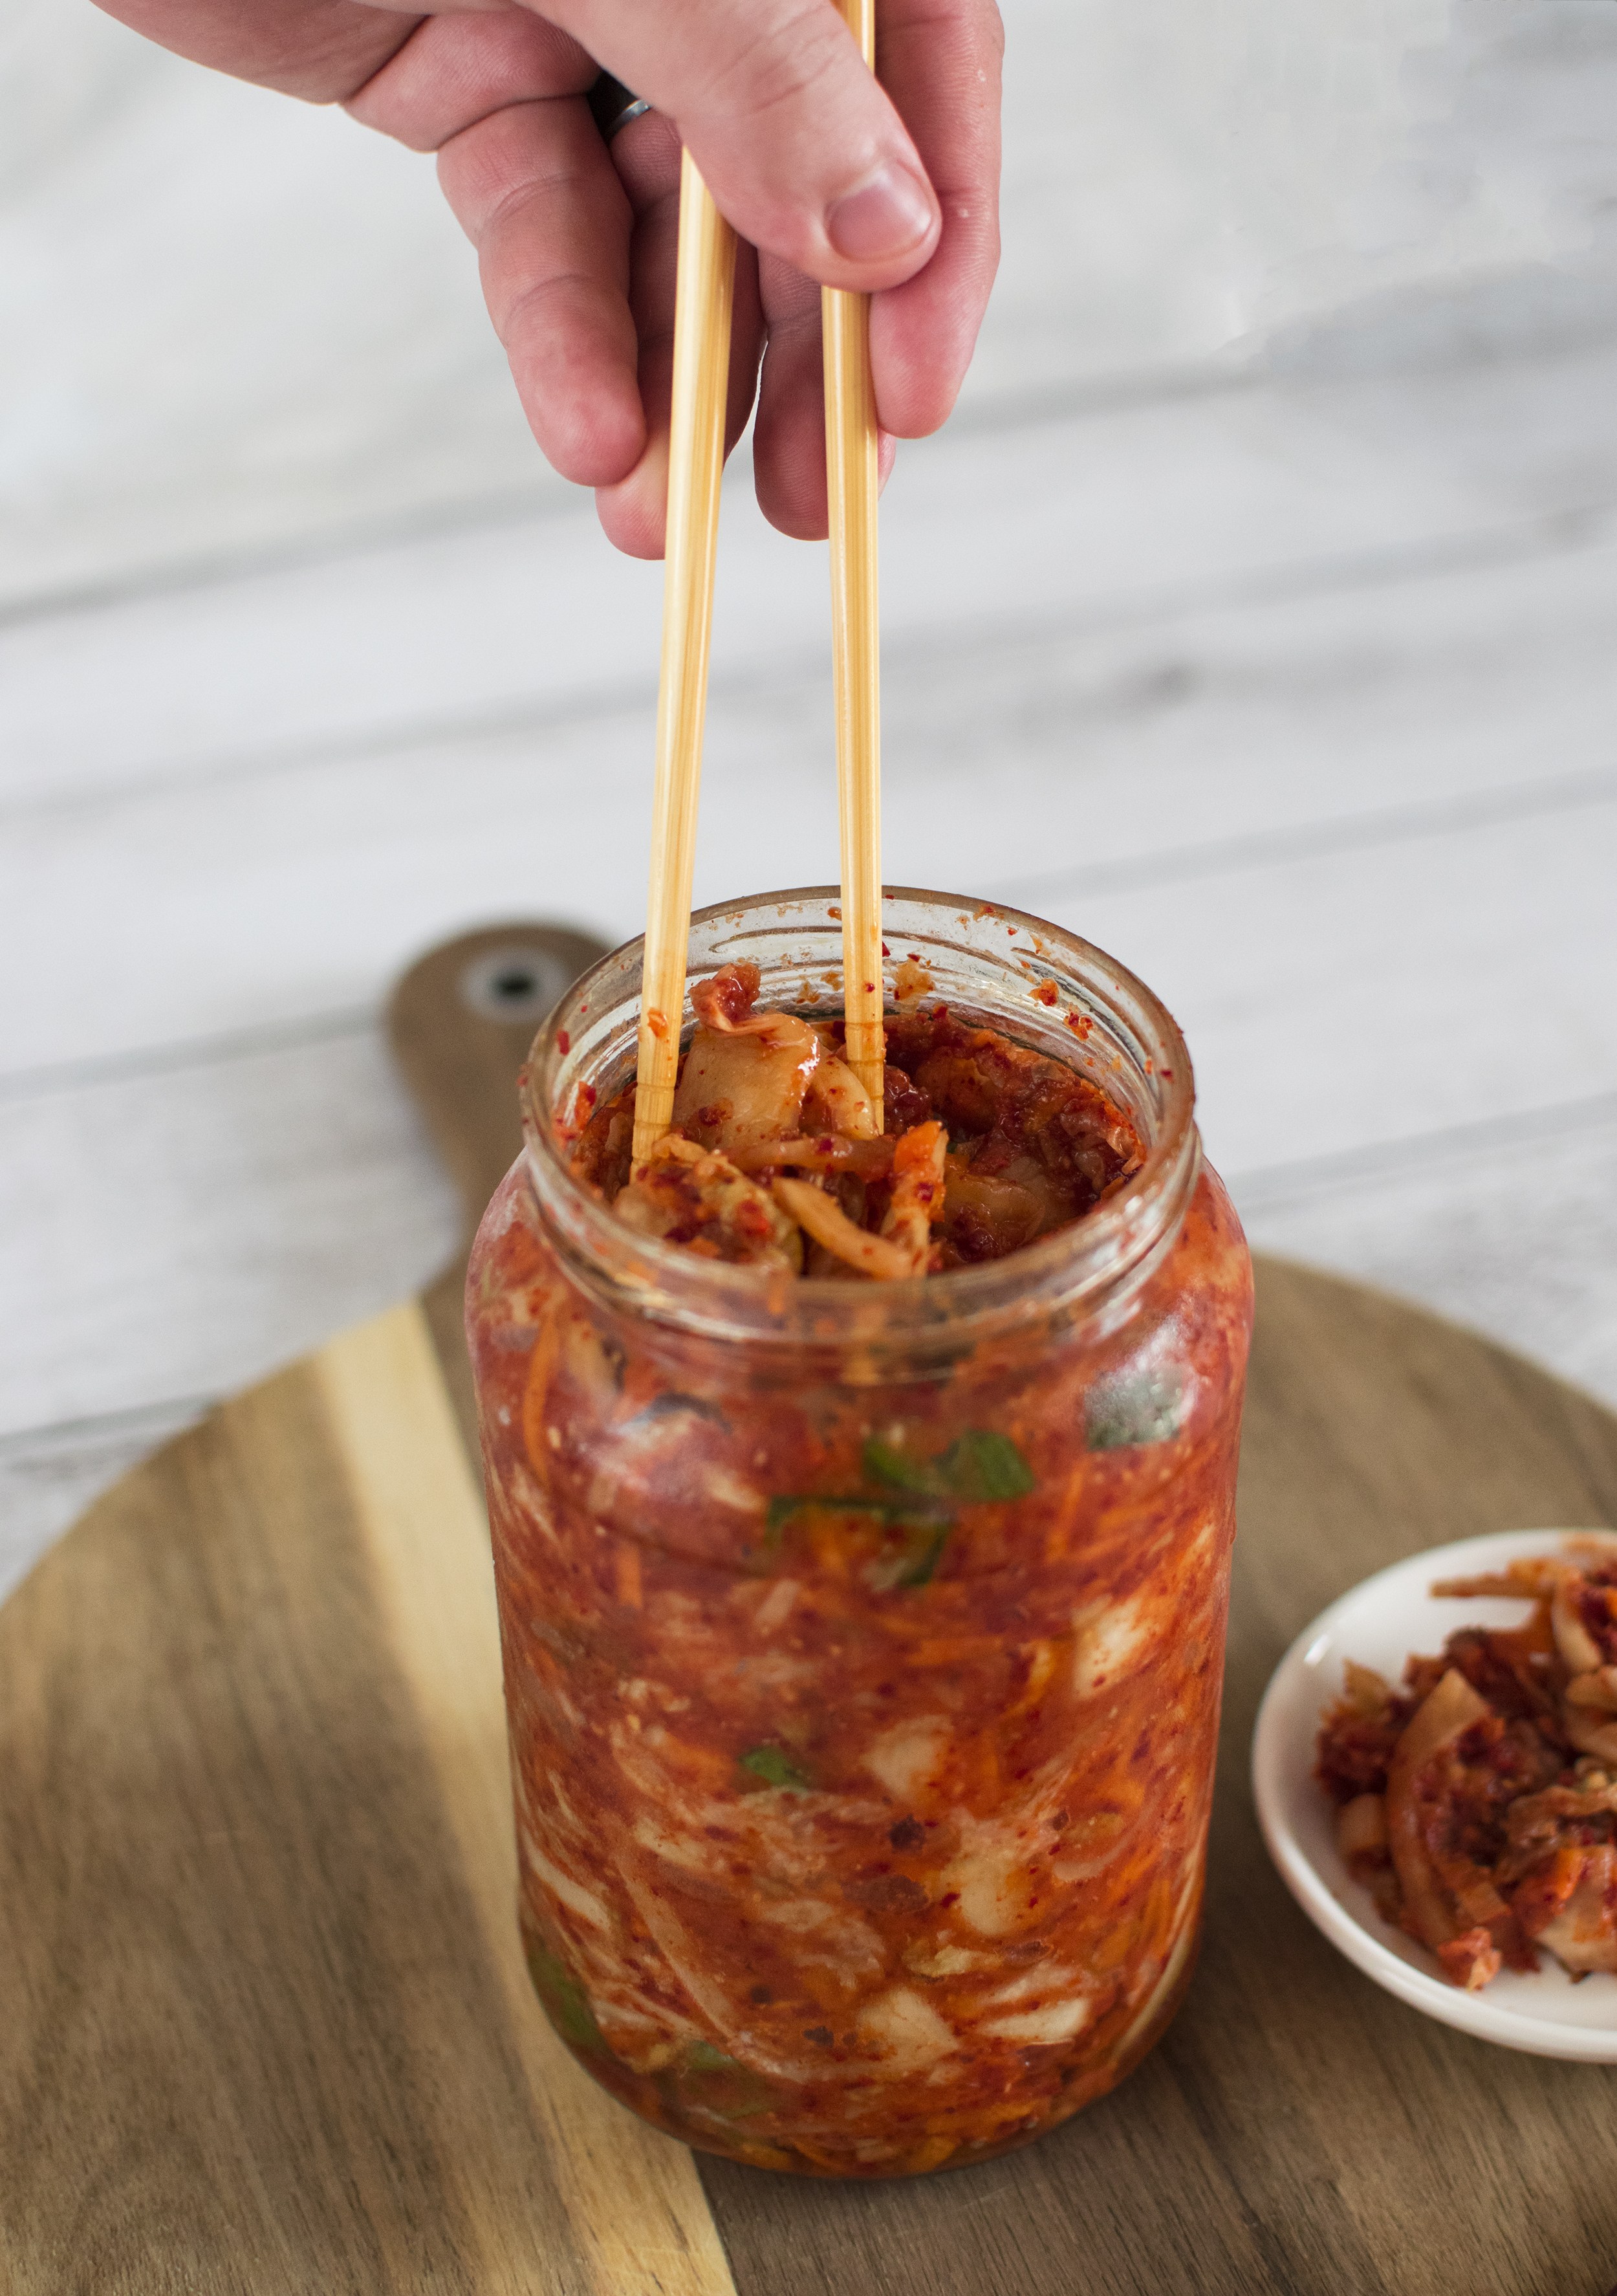
- Storage. You want to store the kimchi in a glass or plastic container. I have done it in both. Make sure it is something that closes air tight. Place the kimchi in the desired container. Make sure it is perfectly submerged in the paste you created. Press it gently until there are no air bubbles left.
- Fermentation. The fermentation process will start once you leave the kimchi at room temperature. Leave it on the counter for a day. Do not seal the jar if you are using glass. As it will start fermenting, gas will be produced and you may have your jar popping. Just put the lid on and don’t close it completely. Put a plate or tray underneath, just in case it will leak. It did not happen to me, but better safe than sorry.
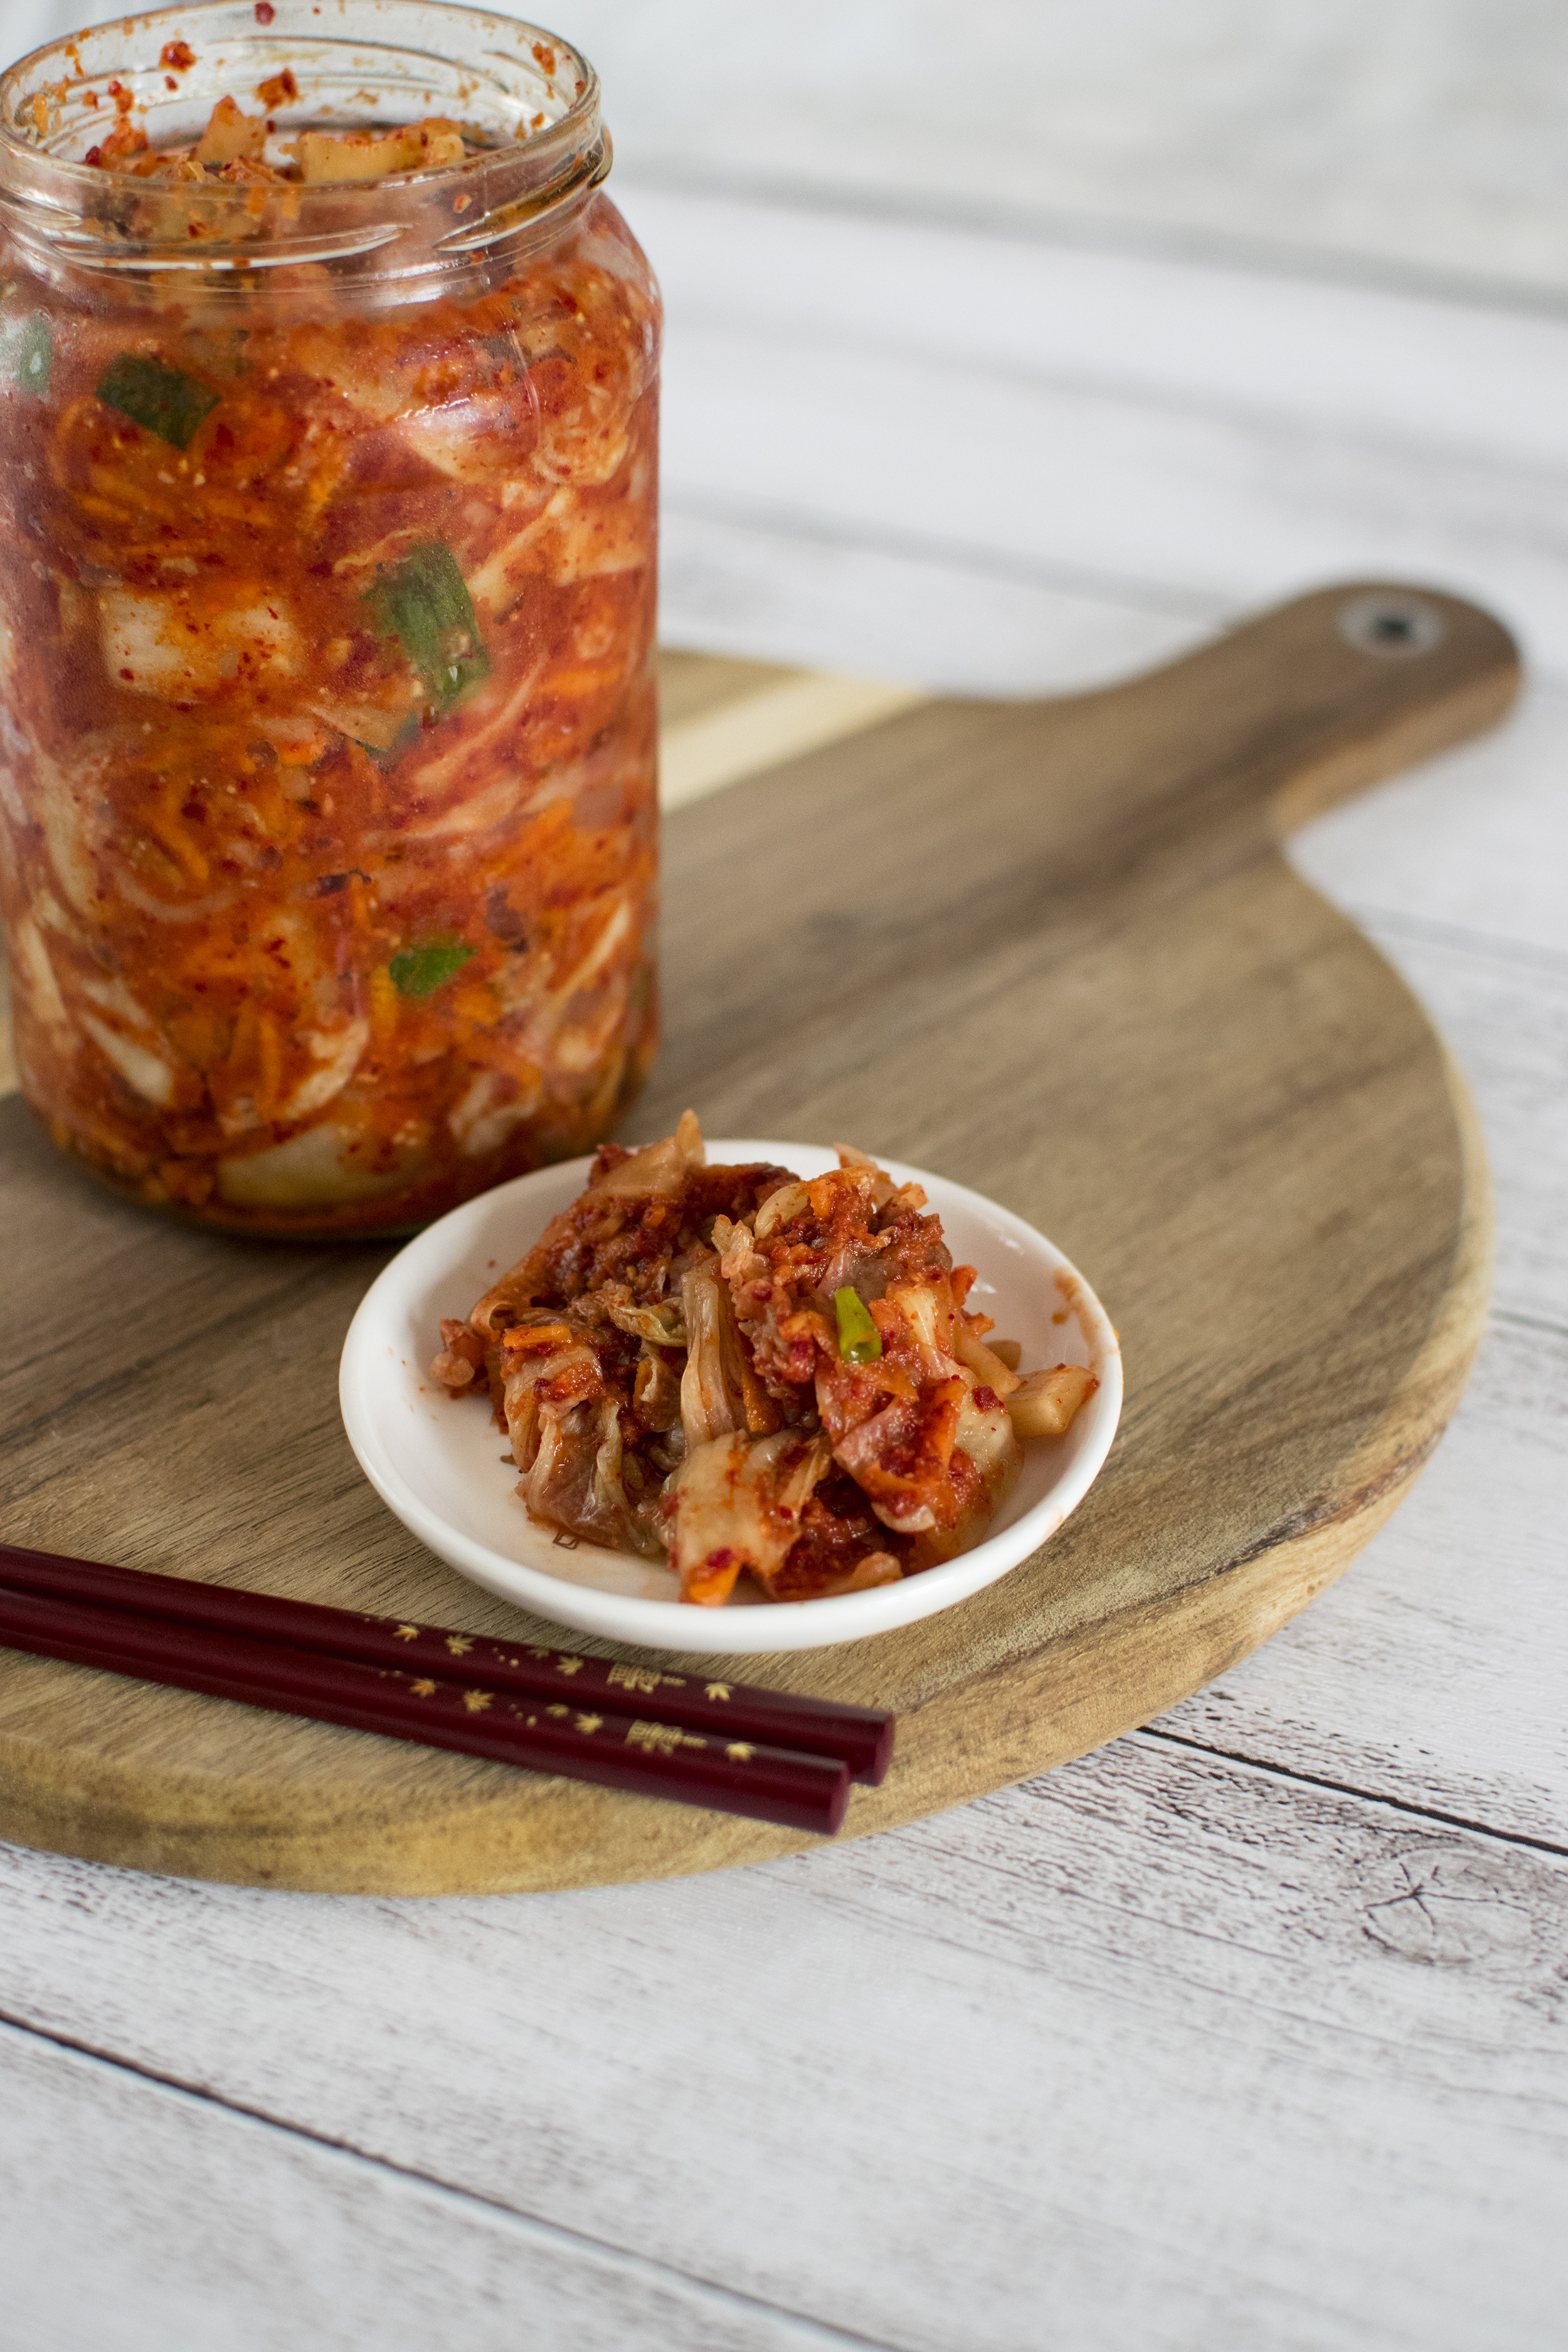
- After one day at room temperature, store it in the fridge. The taste and smell of the kimchi will lightly change over time as it ferments. It will become more sour. I am not sure how much time it is okay to store it, mine were still good after 2-4 weeks, but when it becomes too sour for your liking, you can turn it in a stew or use it in fried rice, noodles. Technically it can last for months, but at that point it will be a bit too sour to eat just as it is.

So far, the kimchi that I made was way better than the canned one, and with this recipe, there is not much effort to it. I find it quite easy to make, and it is a staple for so many recipes. You can add it to fried rice, noodles, stews, and I will be coming up with new recipes on how to use your kimchi.
Hope you try the recipe, and if you do, please let me know if you liked it.
