This is my story with sourdough bread making, or at least this is the first part.
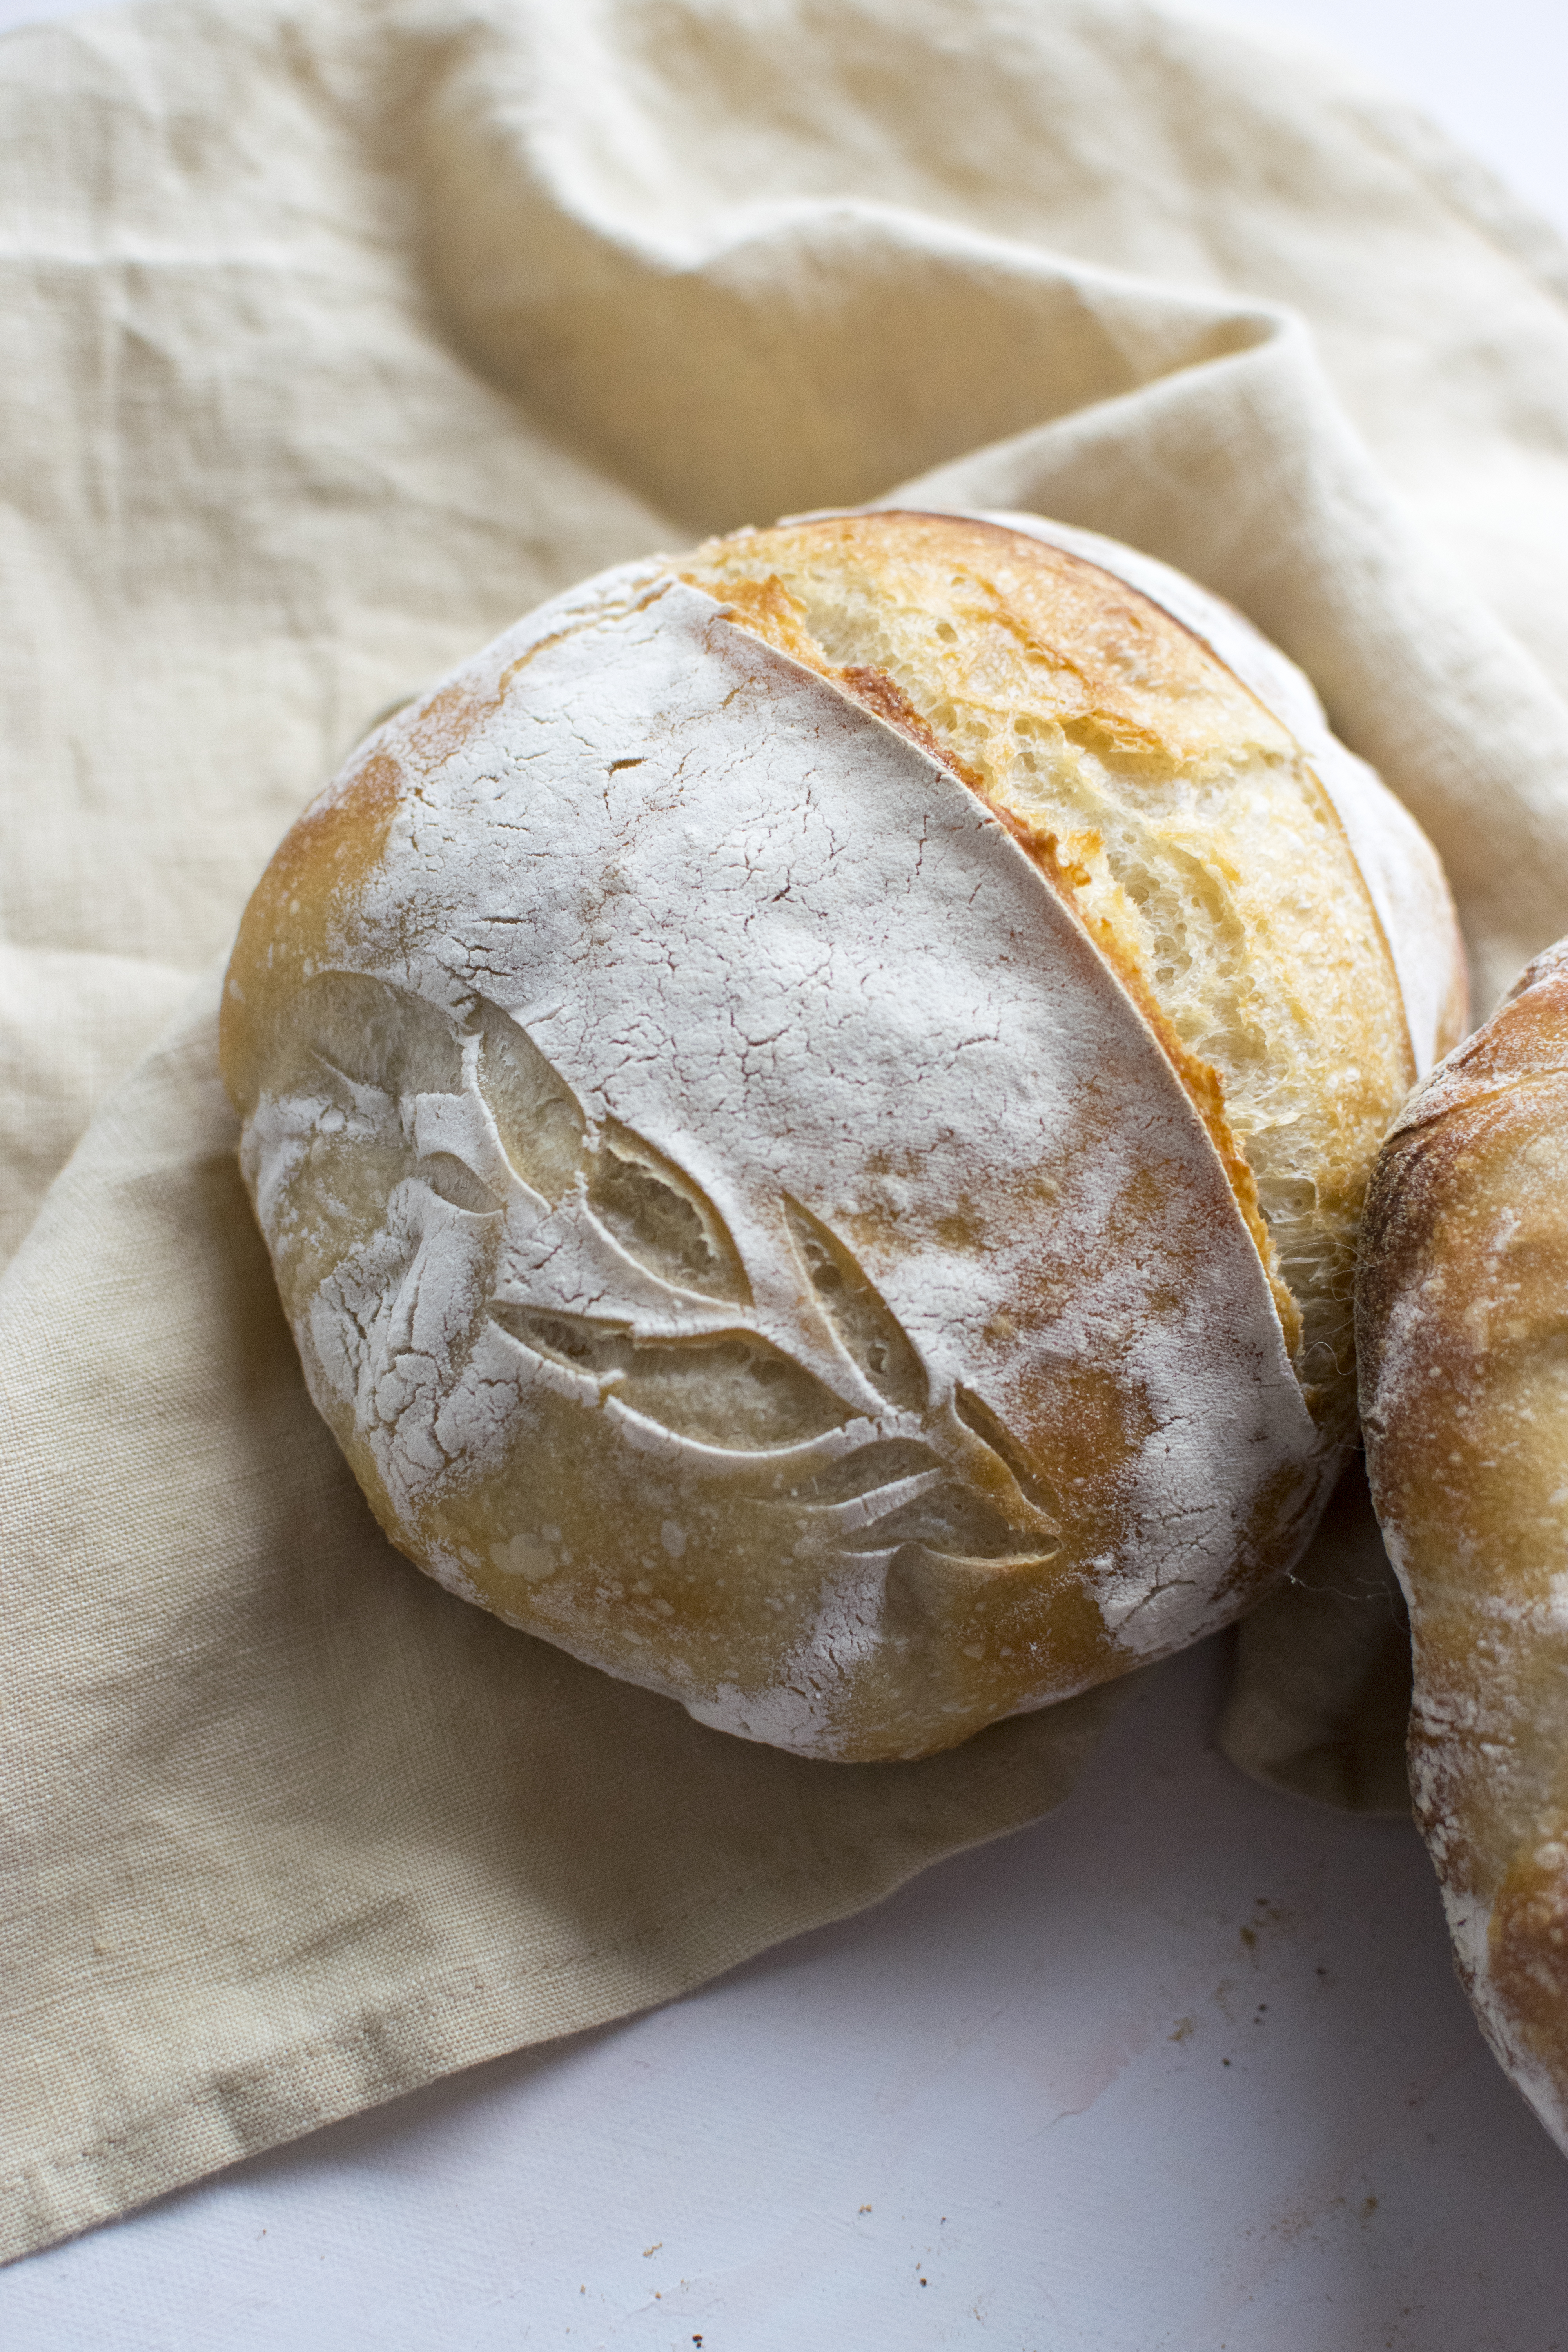
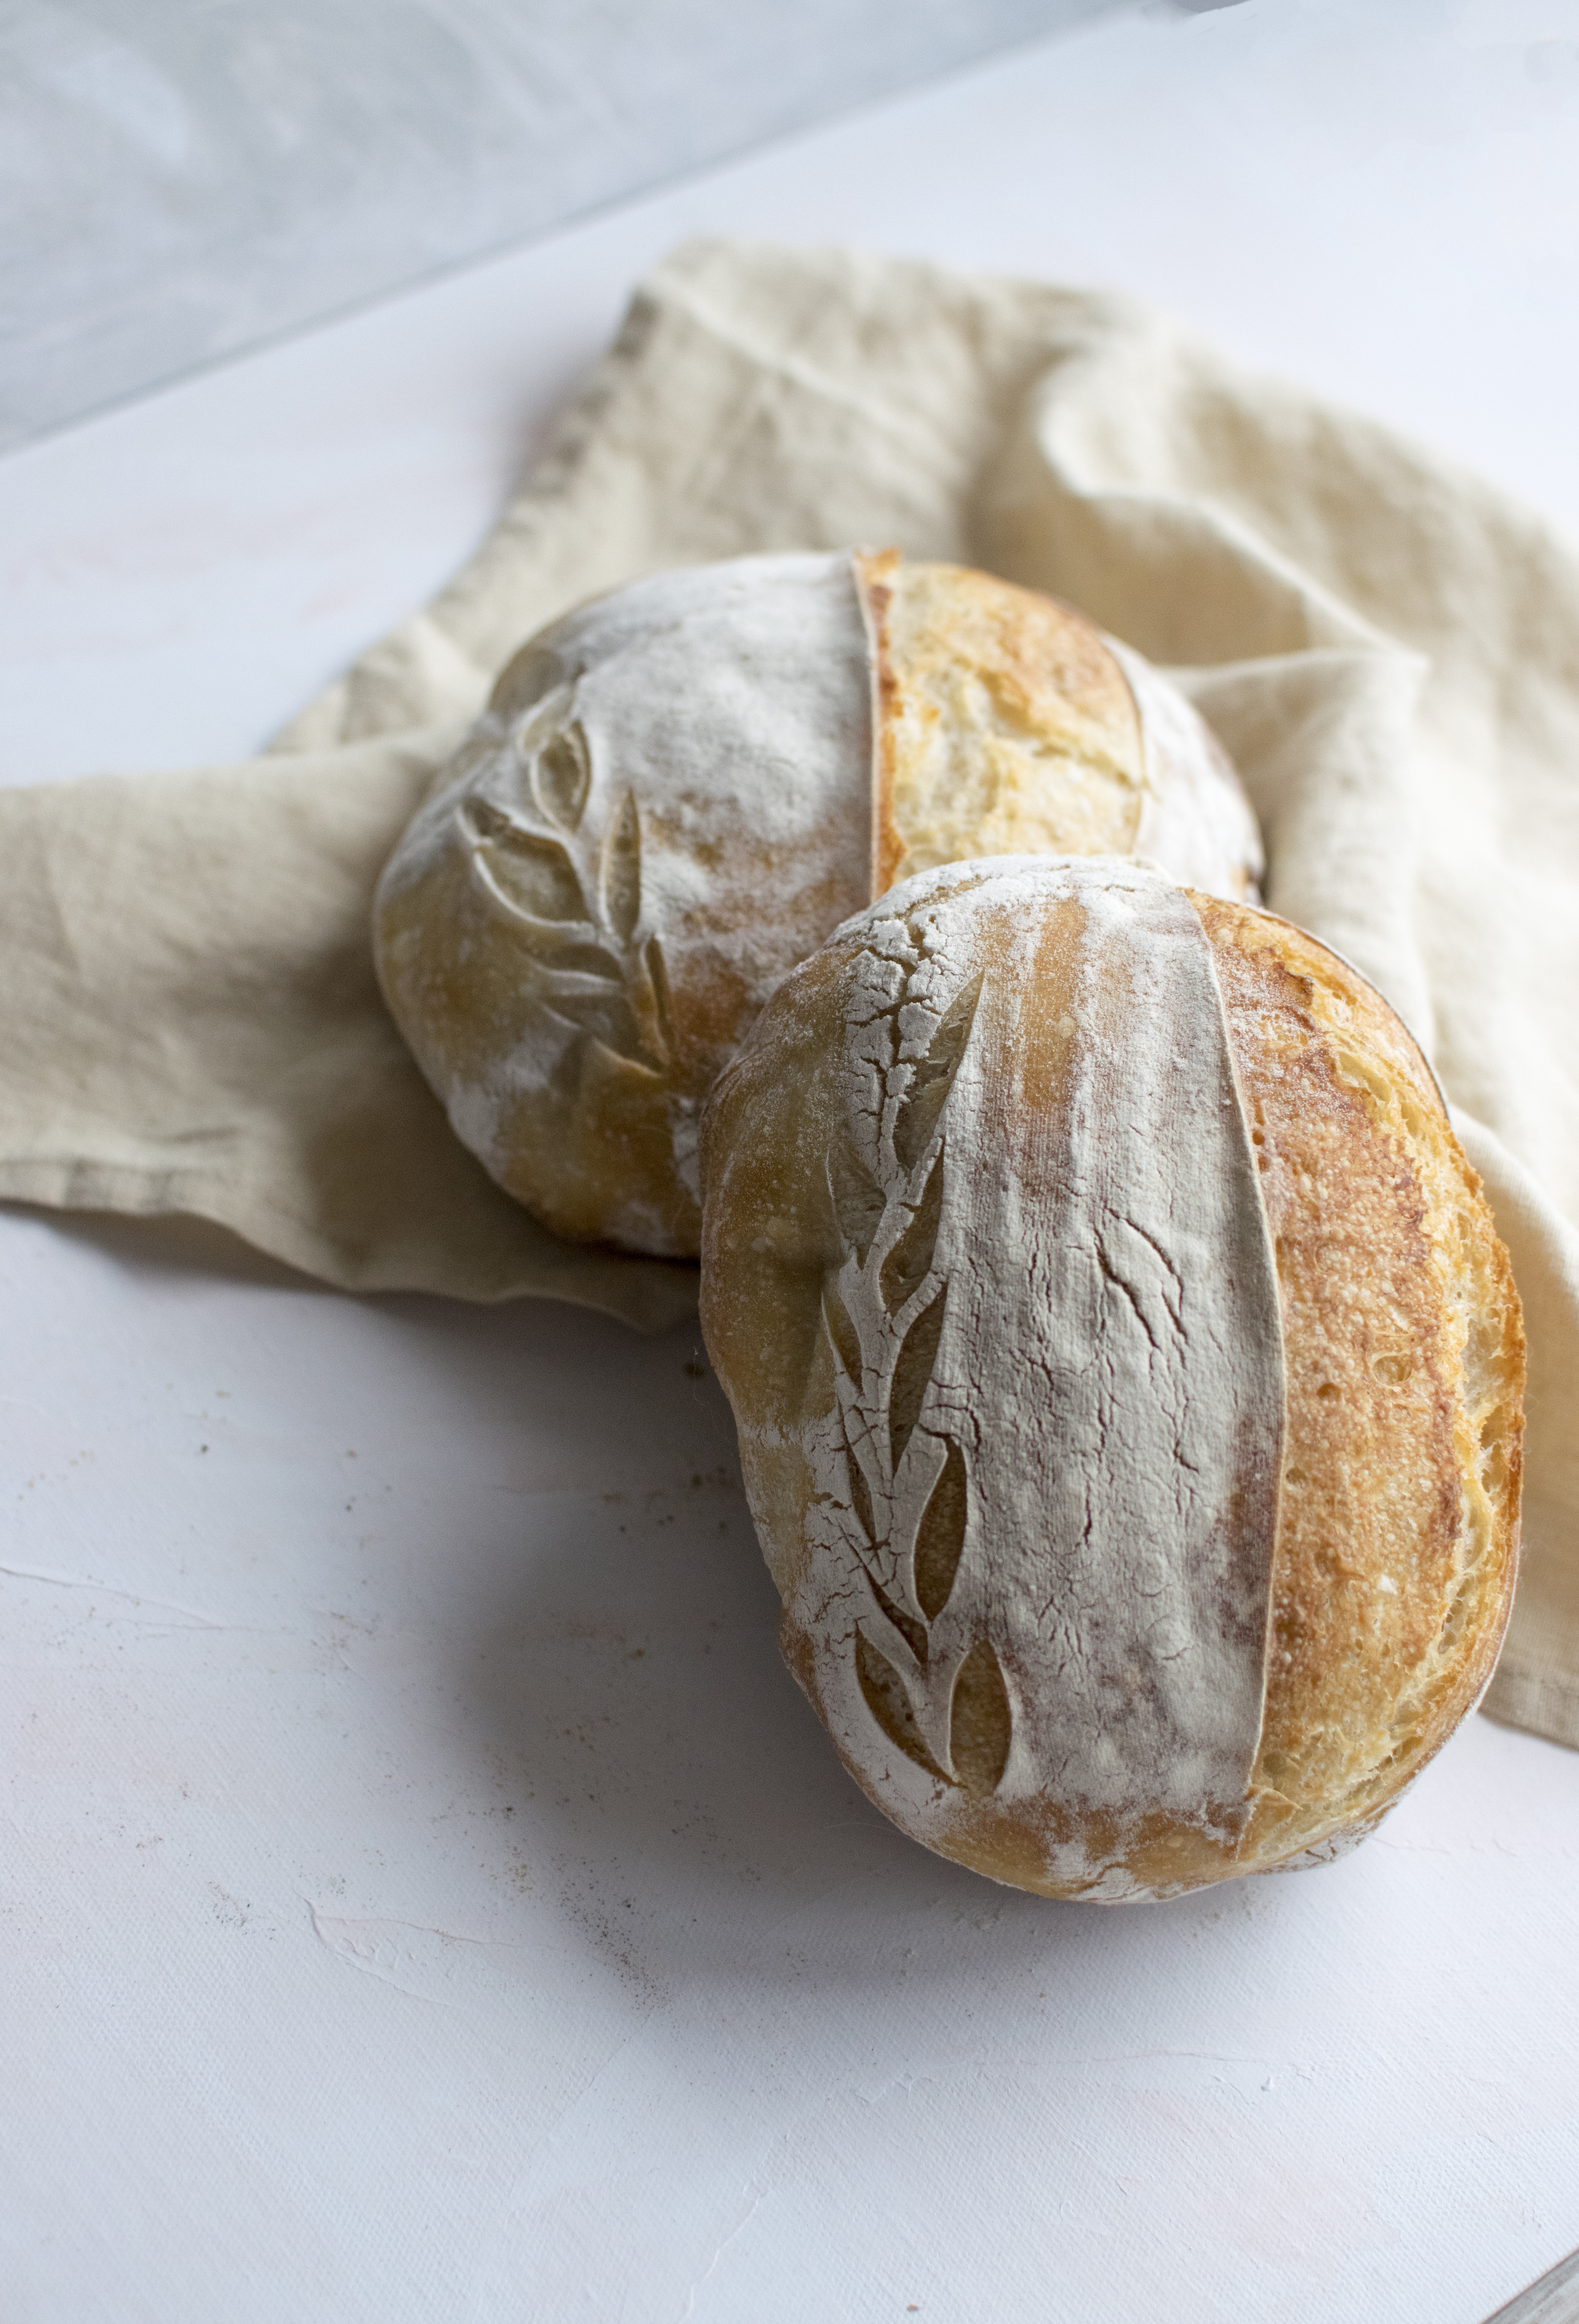
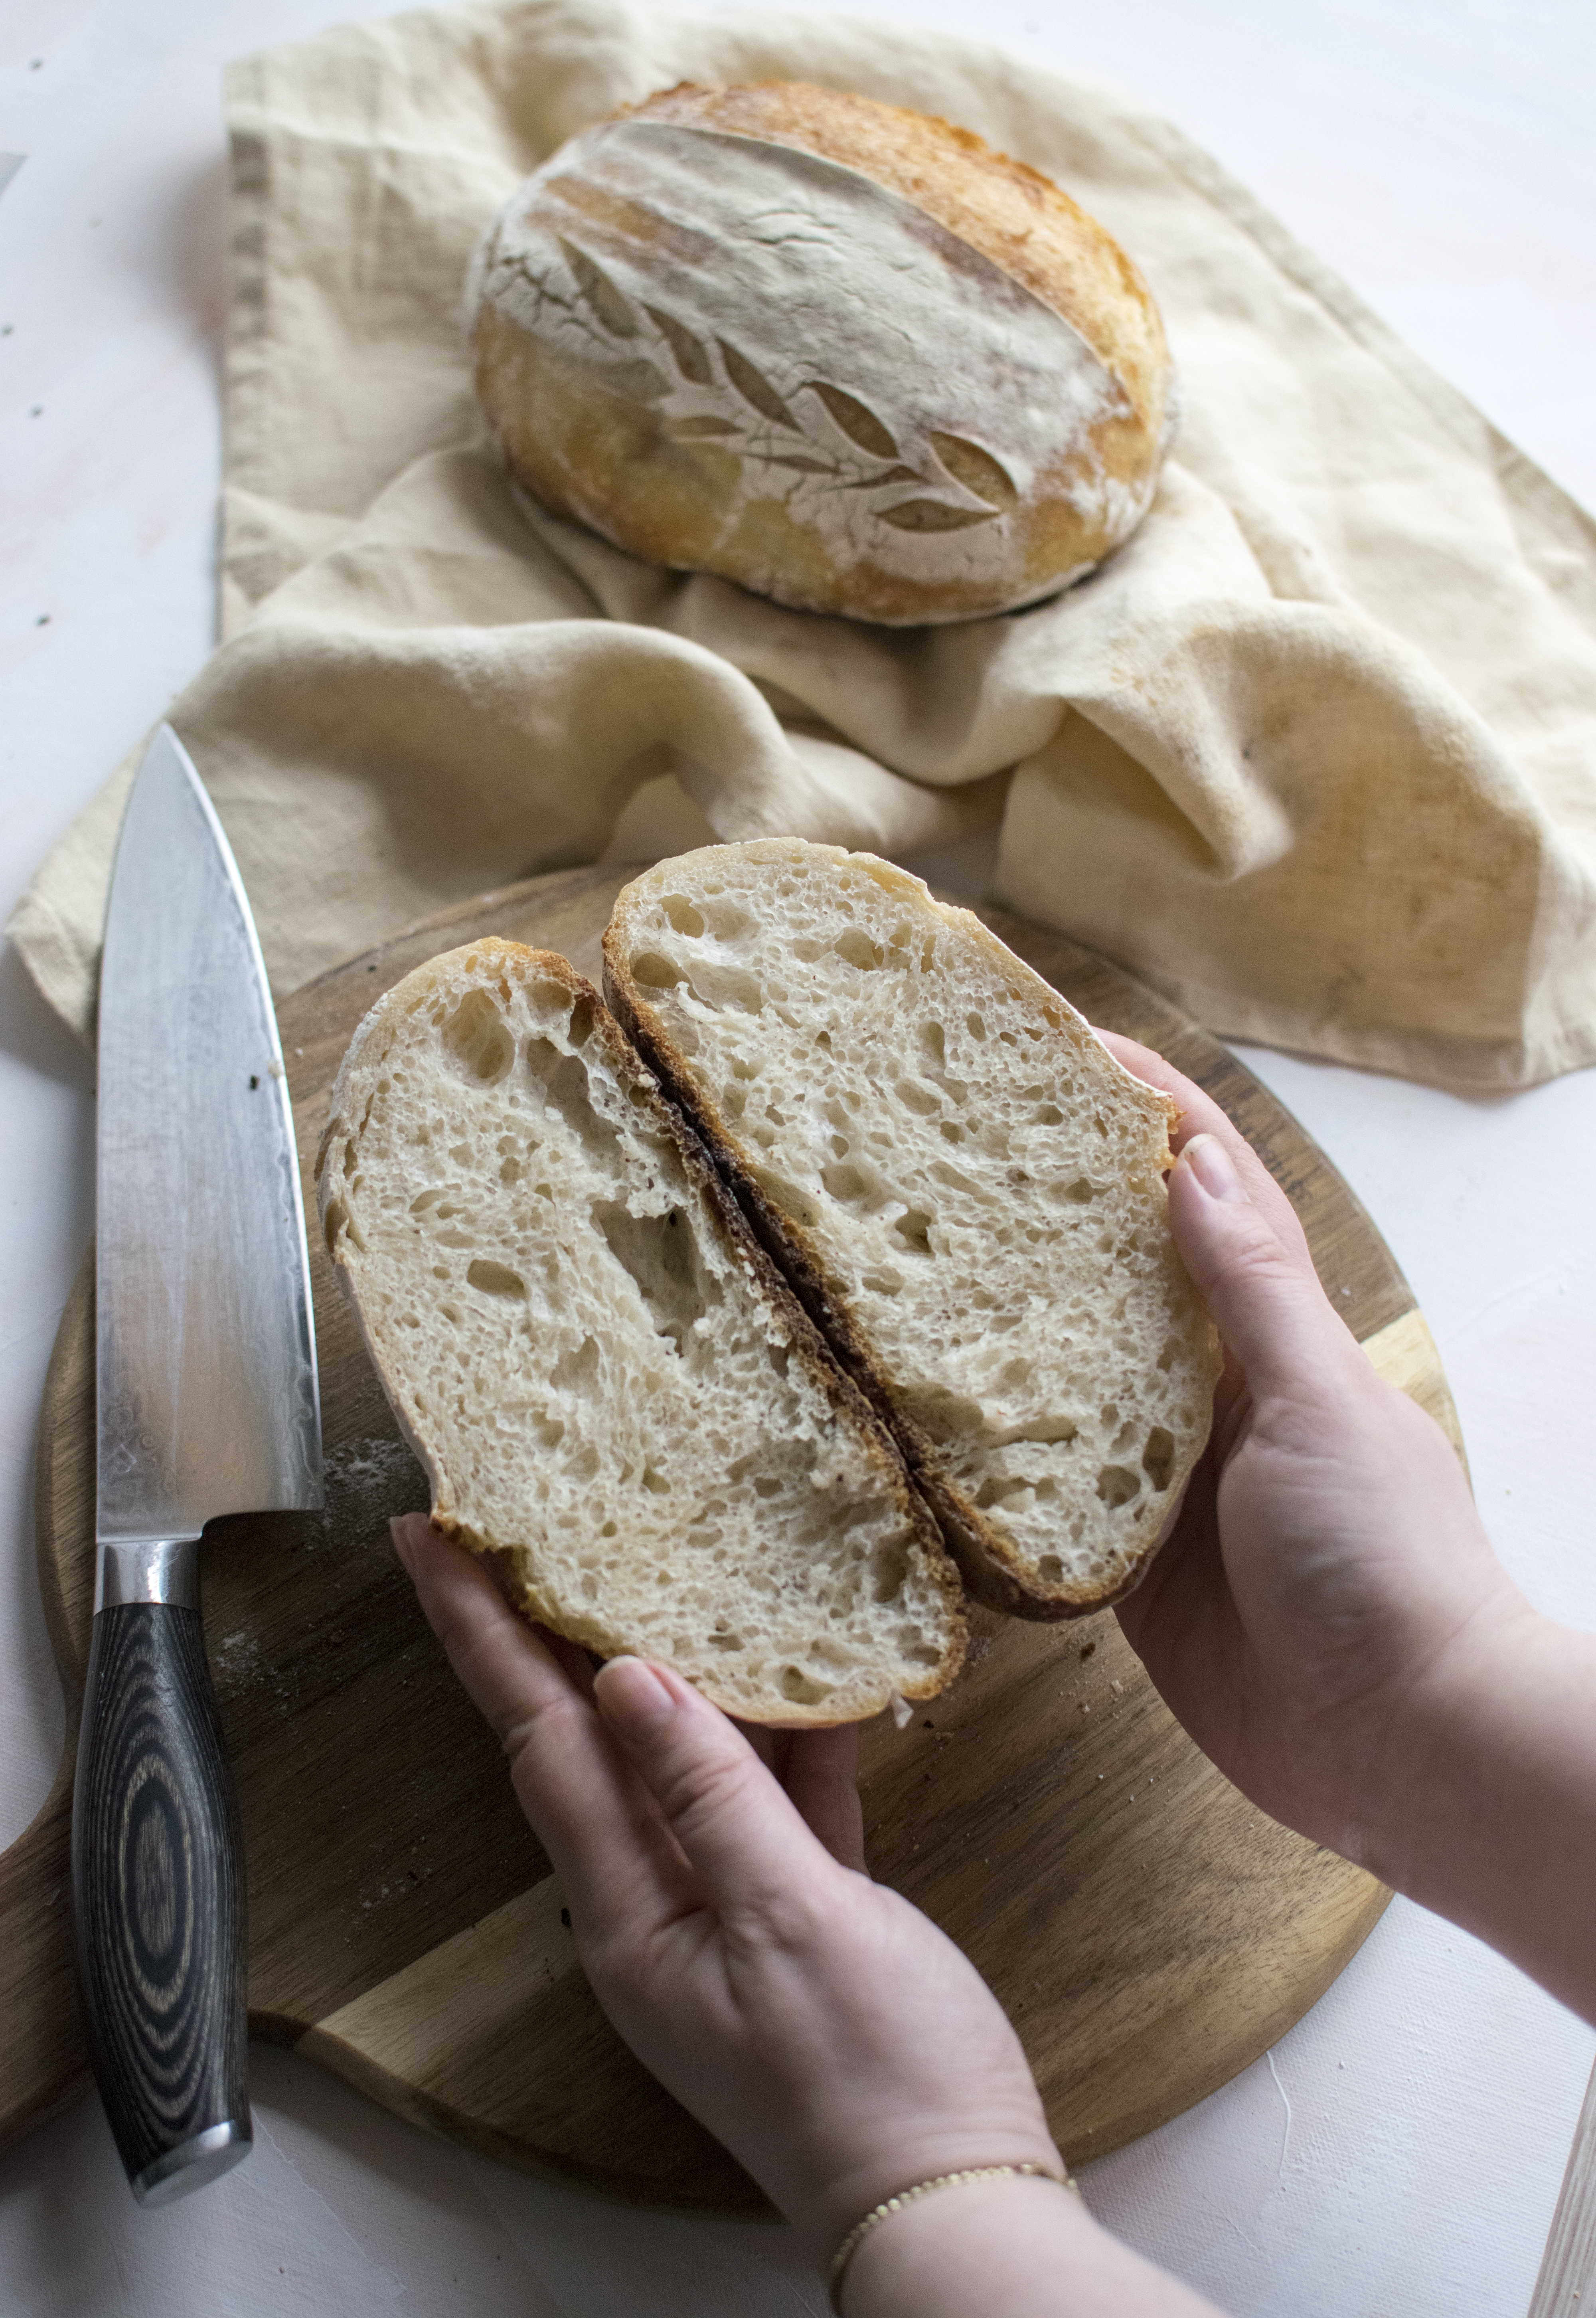
Sourdough bread is a totally different experience, in taste and feel, than regular bread. Of course, there are many types of bread, but using a sourdough starter really changes the depth of flavour, it elevates anything that you serve it with, and it also has a lot of health benefits due to the long and slow fermentation process.
I really wanted to start this series, even if I am not a professional sourdough baker and still have a lot to learn because I know how hard it can be if you want to start from scratch and you have no idea if this is how stuff has to be, smell or look like.
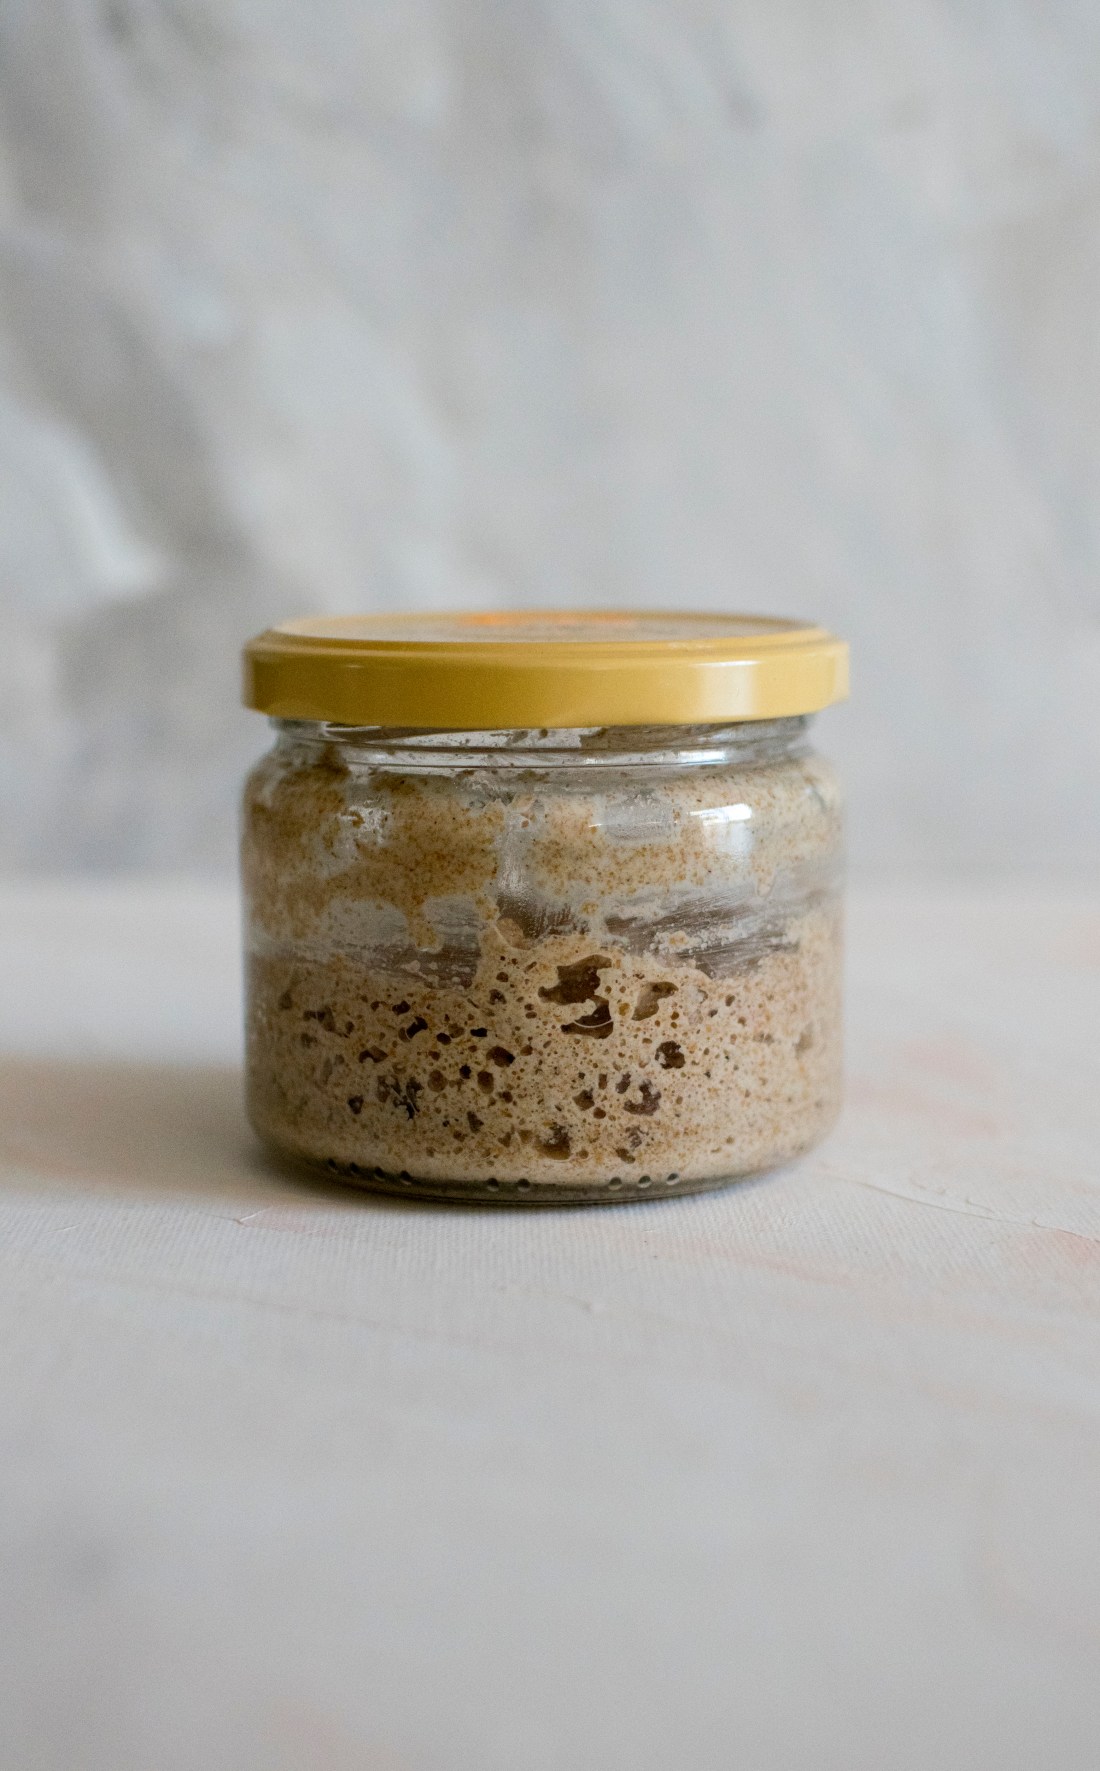
I joke around saying the my starter is my second pet (I have a cat. I am not sure I am allowed to call her my pet, she’s basically the owner of the house). I have to feed it everyday and take care of it for it to ferment nicely and transform some flour and water into some amazing bread.
This is not my first starter, I had one before, made some delicious loaves, but it unfortunately had to be thrown away as it developed some sort of mold while I neglected it in summer. So, the story has to come back to zero again, and this is how it went.
How to create a sourdough starter
- Basic necessities
- kitchen scale – you will have to measure everything
- one or two jars
- flour and water (I use bottled water for my starter)
2. What is the best flour for your starter?
To answer this one, we would probably need someone a bit more qualified than me, but my observations are that it works way better with whole wheat or rye than with just regular white flour. Whole rye is the most active, my first starter was rye and wheat. For the second one I used whole wheat. I also read of people that like to do a mixture of both, and I kind of want to try that as well with the starter that I have now. I also saw some people making it exclusively with white flour, or a mixture of whole flour and white flour. My preferred flour is whole rye or wheat, and I use white flour for the preferment.
3. How to actually create the starter?
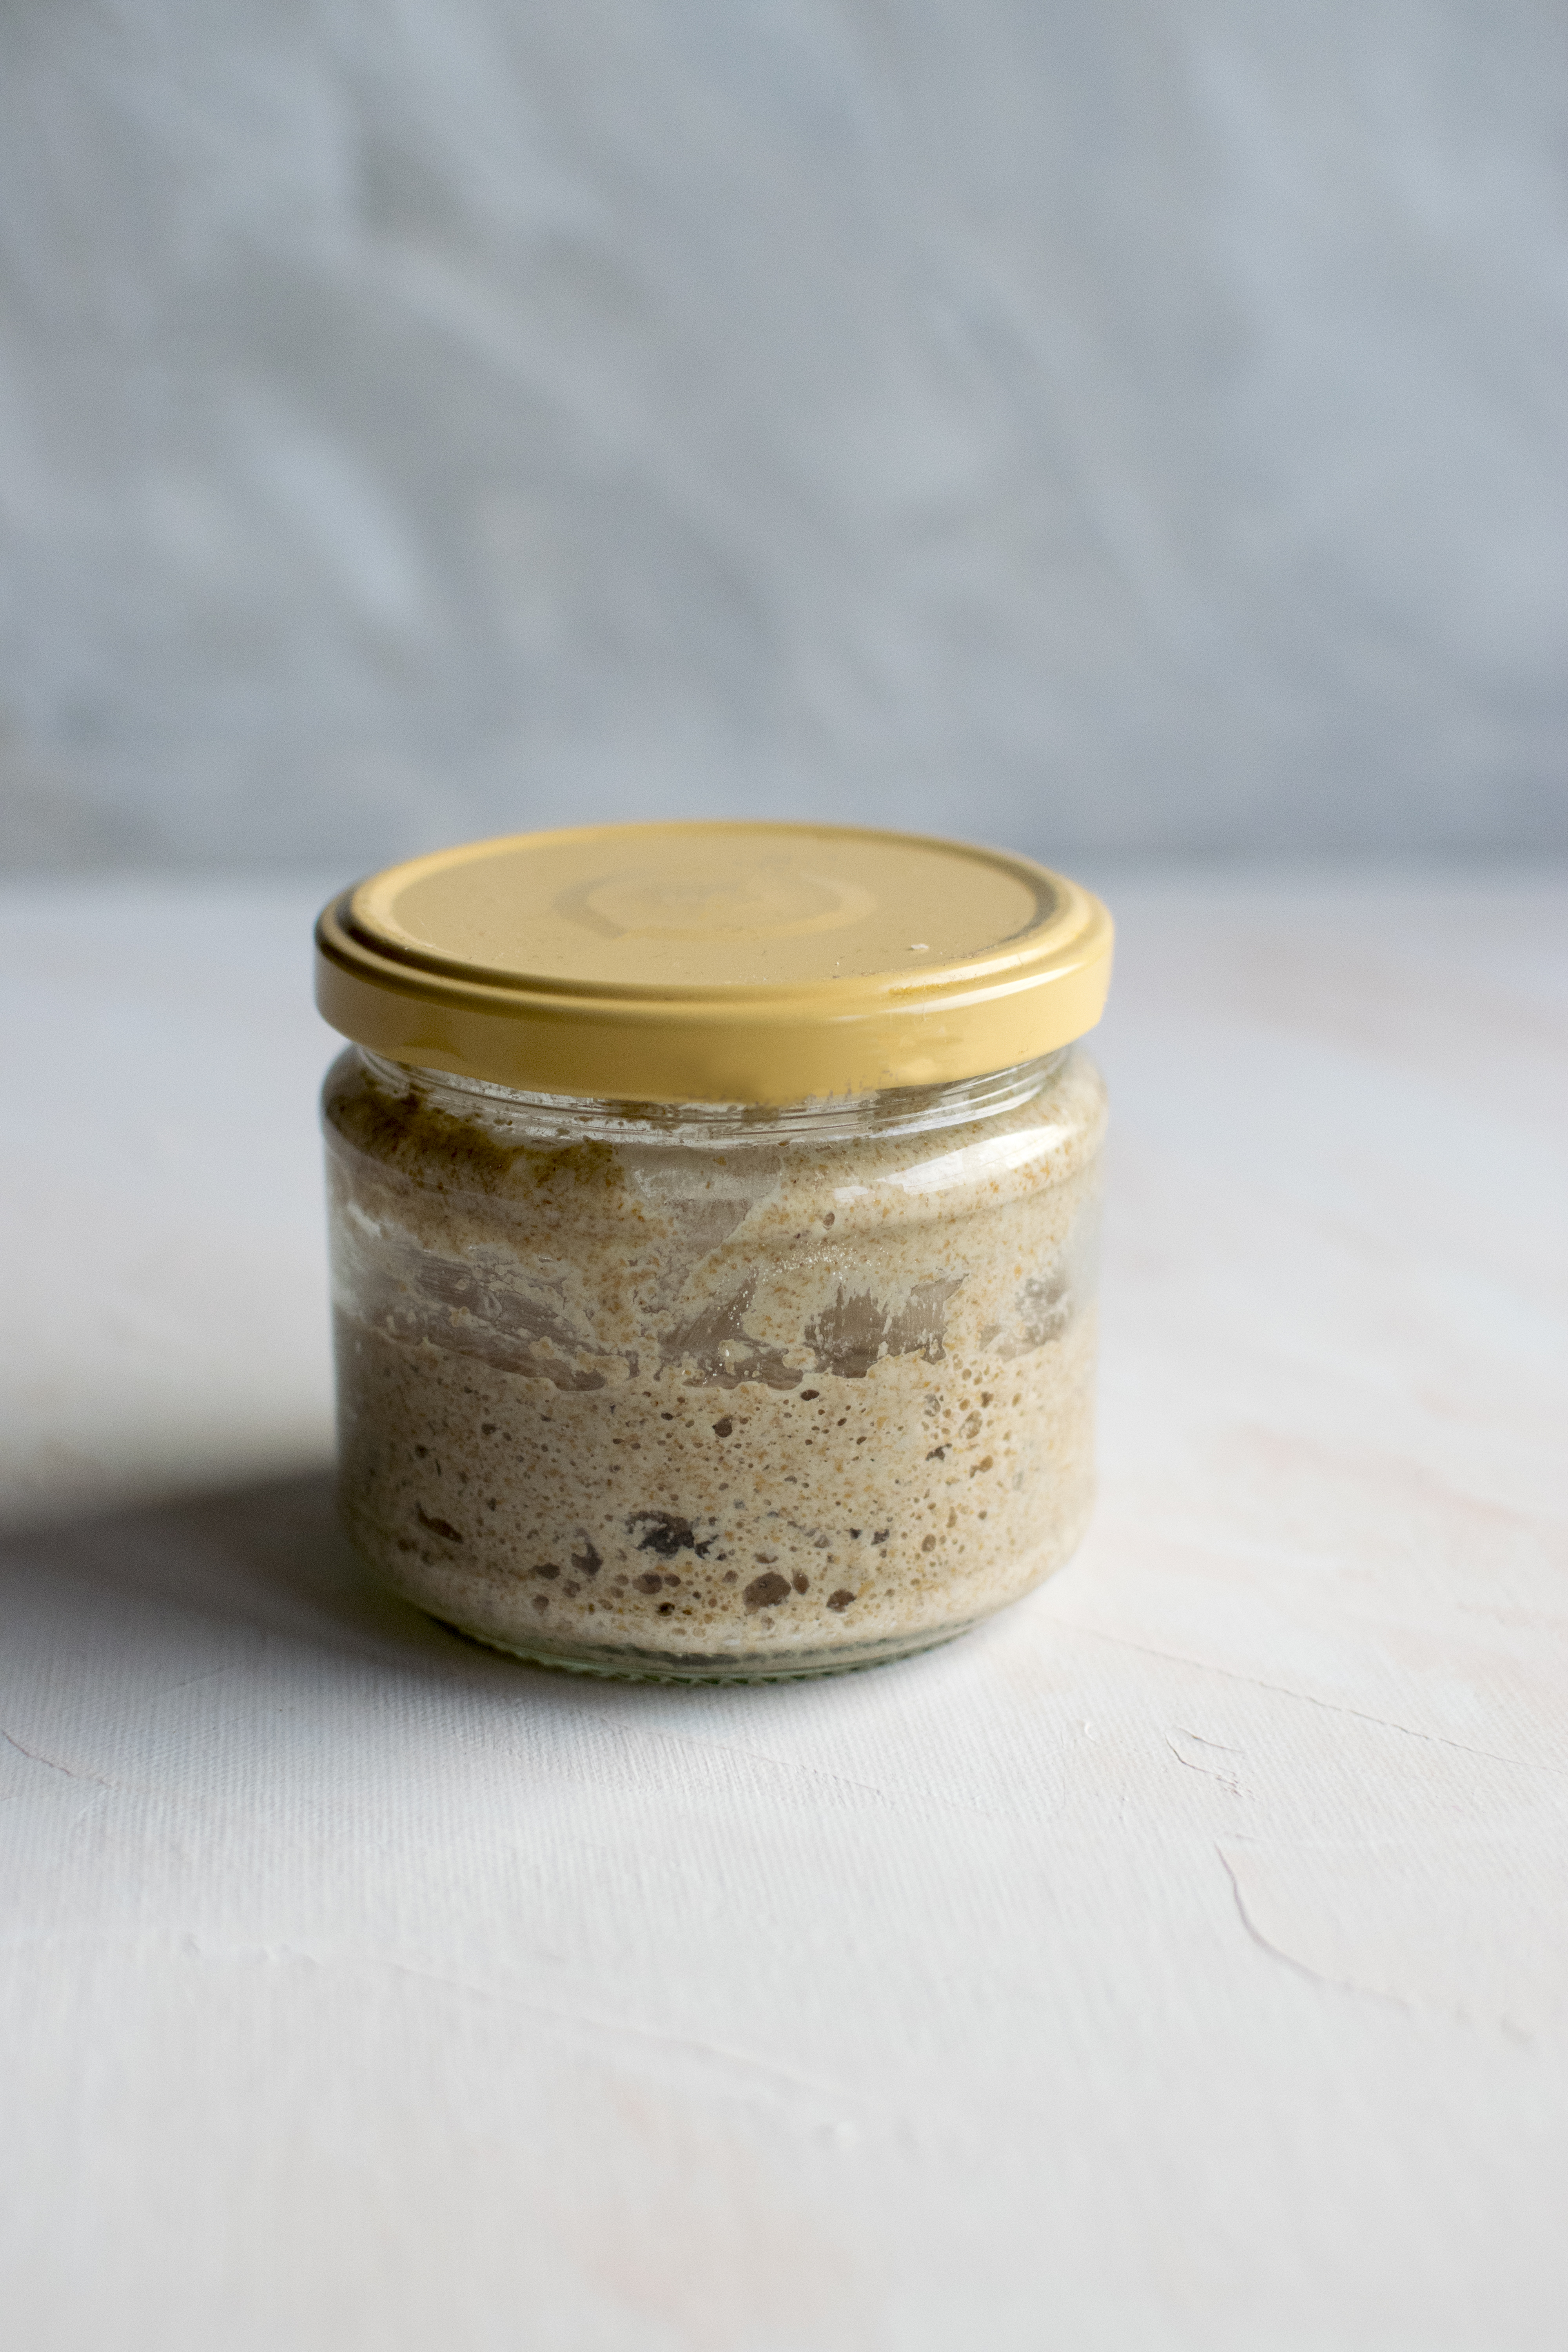
- Weigh you jar. You will need this as a reference so that you can easily remove the discard without always using a new jar. You can also keep switching the jar at every feeding, but I prefer to use just one and change it every 2 weeks or when I feel like it needs to.
- This time, I did my feedings a bit different. I started Day 1 with 30g whole wheat flour and 30g water. Mix them up in the jar, lid on and that is it until the next day. (I started everything quite late, so all the feedings will be at around 22:00)
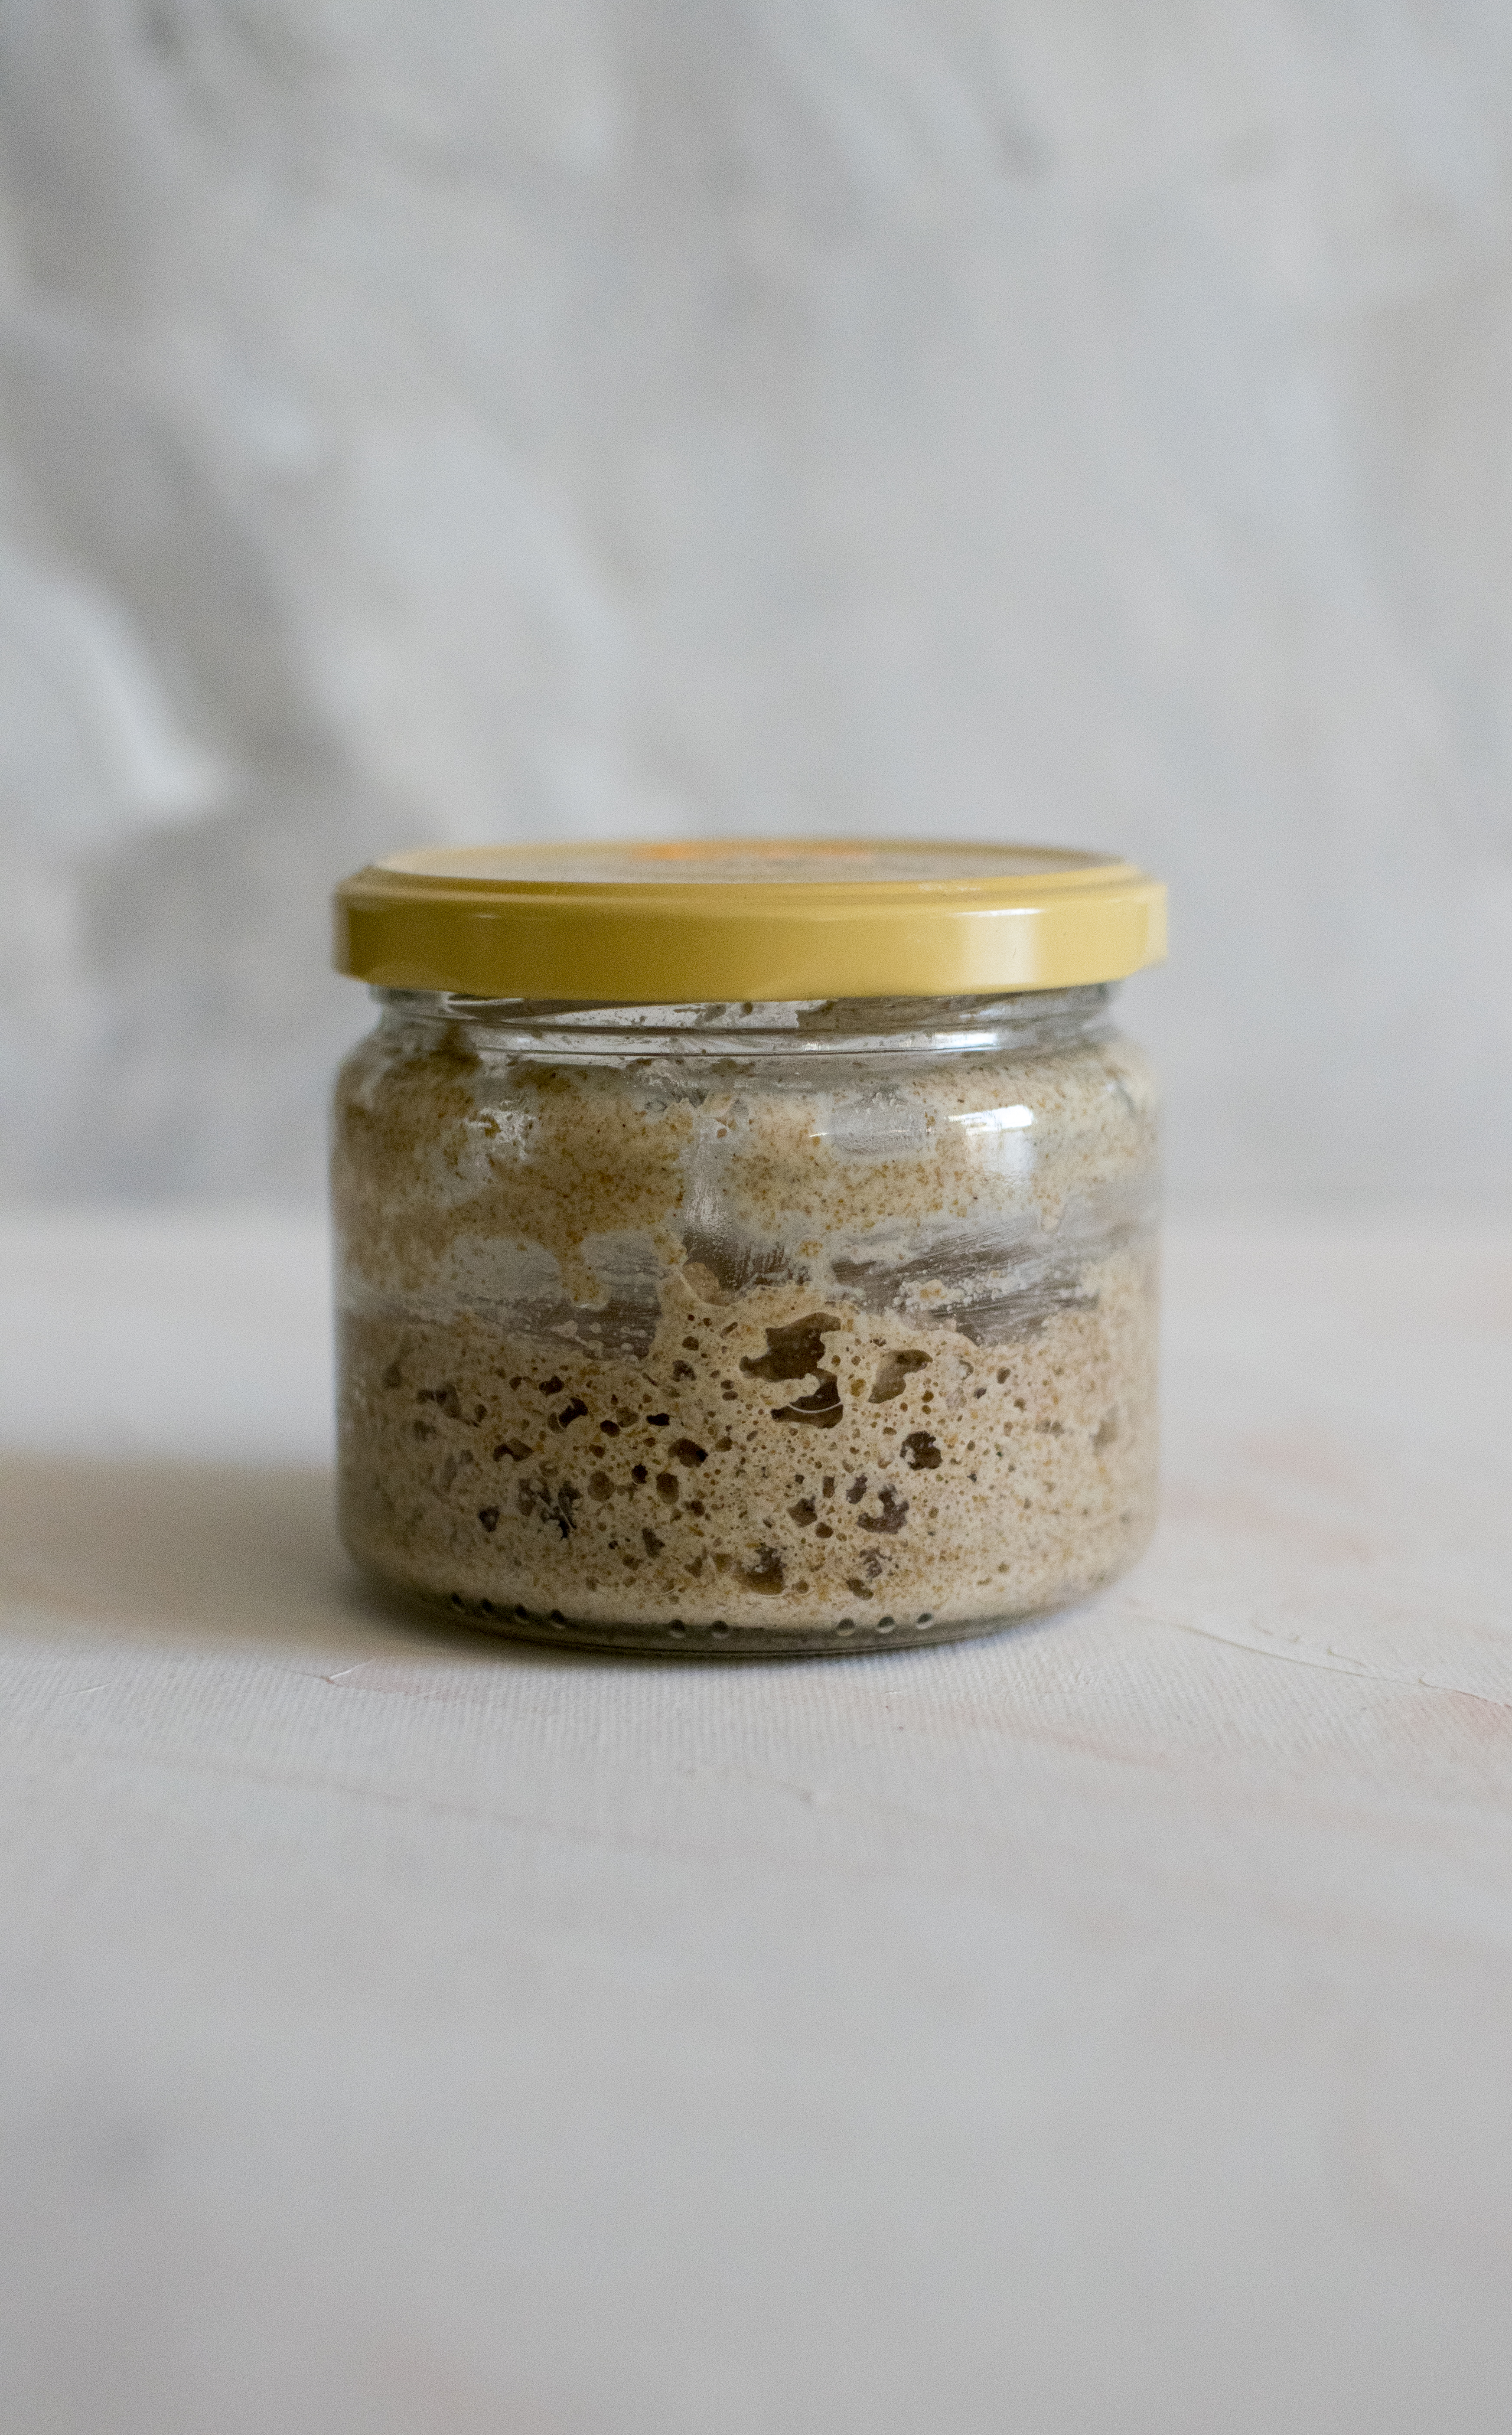
- Day 2: After 24 hours it was time for the first feeding: I left only 10g of starter, discarded the rest and added 30g flour and 20g water. In terms of activity, I had bubbles and it doubled in volume, a dream to be honest. But it is totally normal not to have activity at all. It really depends on the flour, the temperature in the room, so be patient. Also, it will smell… if you are using rye, dirty socks would be good description for the first few days. I was actually scared the first time I made it that maybe something is wrong because of the smell. Once it will mature, the scent will change into something a bit more acidic, more fruity.
- Day 3: I did the same kind of feeding as in day 2. My starter was nice and bubbly, and I was very hopeful and enthusiastic.
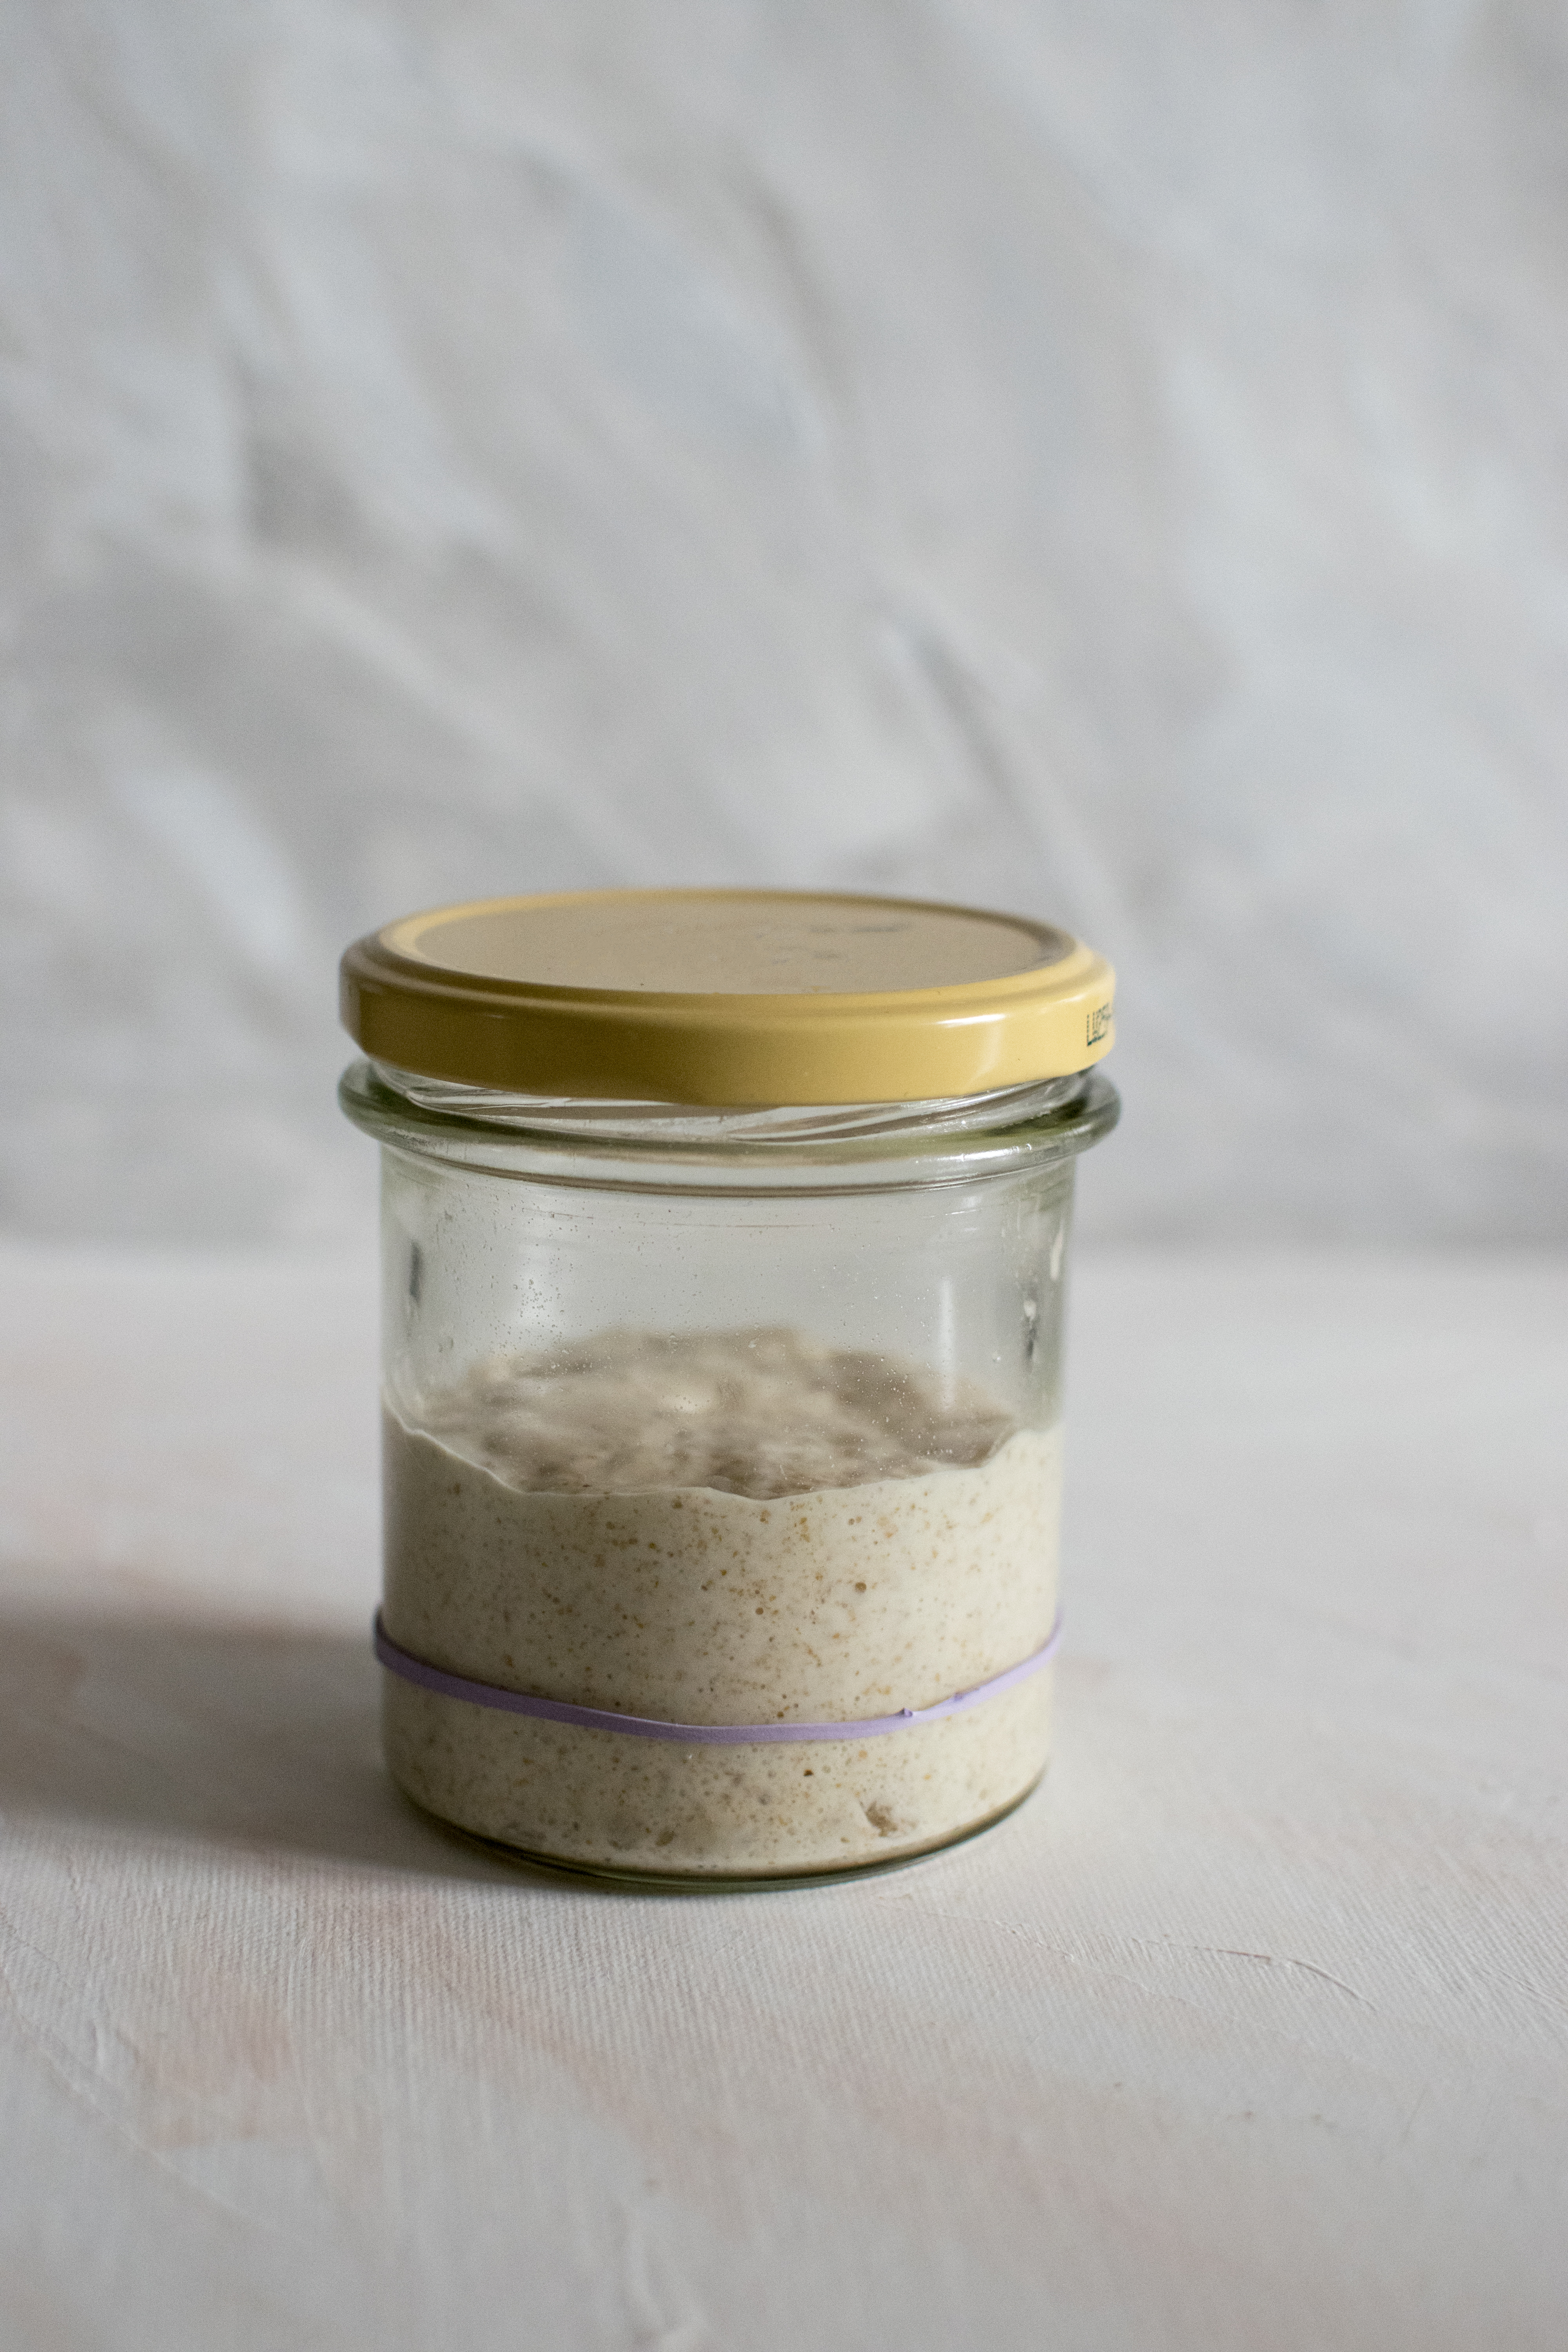
- Day 4: On day 4 I had no activity. My starter did not rise overnight at all. It smelled kind of milky, so that was good. There was liquid on top – which is normal, it just means that the starter is hungry- so I fed it the same as in the previous days.
- Day 5 showed up with no activity again, so I decided to change the feeding ratio. At this point we were feeding the starter with a 1:3:2 ratio (10g starter, 30 g flour, 20 g water) so I changed to a 1:3:3 (10g starter, 30 g flour, 30 g water) as this was successful for me in the past – no other reasoning than that. So, if normally you would hear that you may not have activity in the first 2 days, for me it was the opposite this time. You don’t have to change the feeding ratios, I just ran out of patience.
- Day 6 showed some bubbles. It was not doubled in volume, but I had some activity so that made me happy. I kept feeding it with the same 1:3:3 ratio and this is the feeding ration I kept till day 9.
- Day 7: The activity is nice, it doubled in size at the maximum fermentation point, it is bubbly, we are on track.
- I kept feeding it like this, and when it came to day 9 I decided it had great activity and it was time to take a bit of my whole wheat sourdough starter and combine it with some white flour to make my levain and try to make some bread. Please take into account that it might take longer than this to have a strong starter. Mine already had very good activity and doubled in size every day. The feeding ratio I used this time was 1:3:2 ratio (10g starter, 30 g flour, 20 g water).
- Now this new starter that I created with the white flour, I did not use right away, I fed it for two days. You don’t have to do that, but I wanted to monitor the activity that it had. I made some notes in the first day of feeding, and my observations were: fed at around 9:00, peek of fermentation was at 14:30. This means that it took it about 5-6 hours to be usable in bread. Therefore I fed it again at night to make bread the next morning.

Notes:
- Even though I created the new starter with the white flour, I still kept my other one intact, in case something went wrong
- The time in which your starter will rise is very much dependent on the flour, water temperature, room temperature, so monitor your own to see how you can integrate the feedings in your schedule so that you can make bread.
- Feeding ratio: I guess every recipe asks for a type of sourdough, fed at a particular ratio. In my case I noticed that feedings done at 1:3:2 made a starter that was able to keep it’s shape better, which meant that I had a bit more flexibility in regards to the moment in which I can use it. Also, it’s less hydrated, which means that it does not add that much to the hydration of my dough.
This is what I went through to make this starter, and to be fair, it was quite a rollercoaster because of the inactivity I saw at first, but this shows that you should not throw it away if it does this. Keep feeding it and eventually it will start to develop into a great starter. The steps are generally easy, but the patience is the key in this process.
Now that we have established how to make the starter, it is time to make the bread, and I will come with a story about that, really soon.
