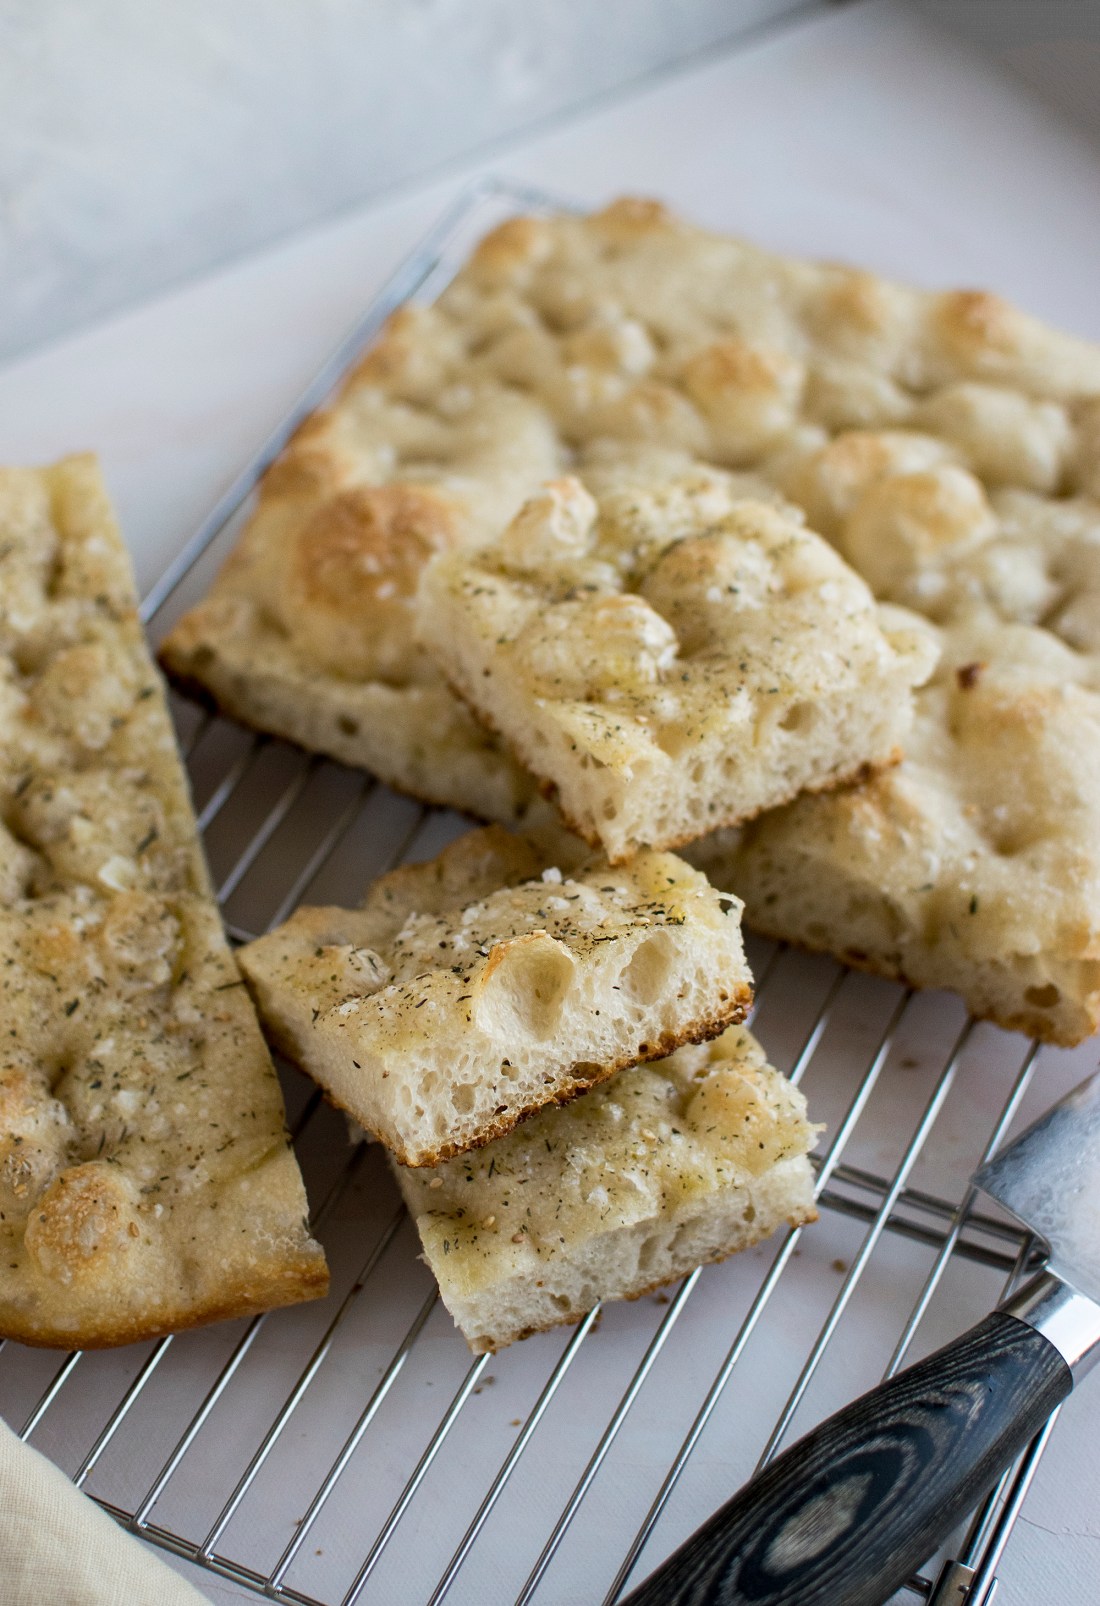
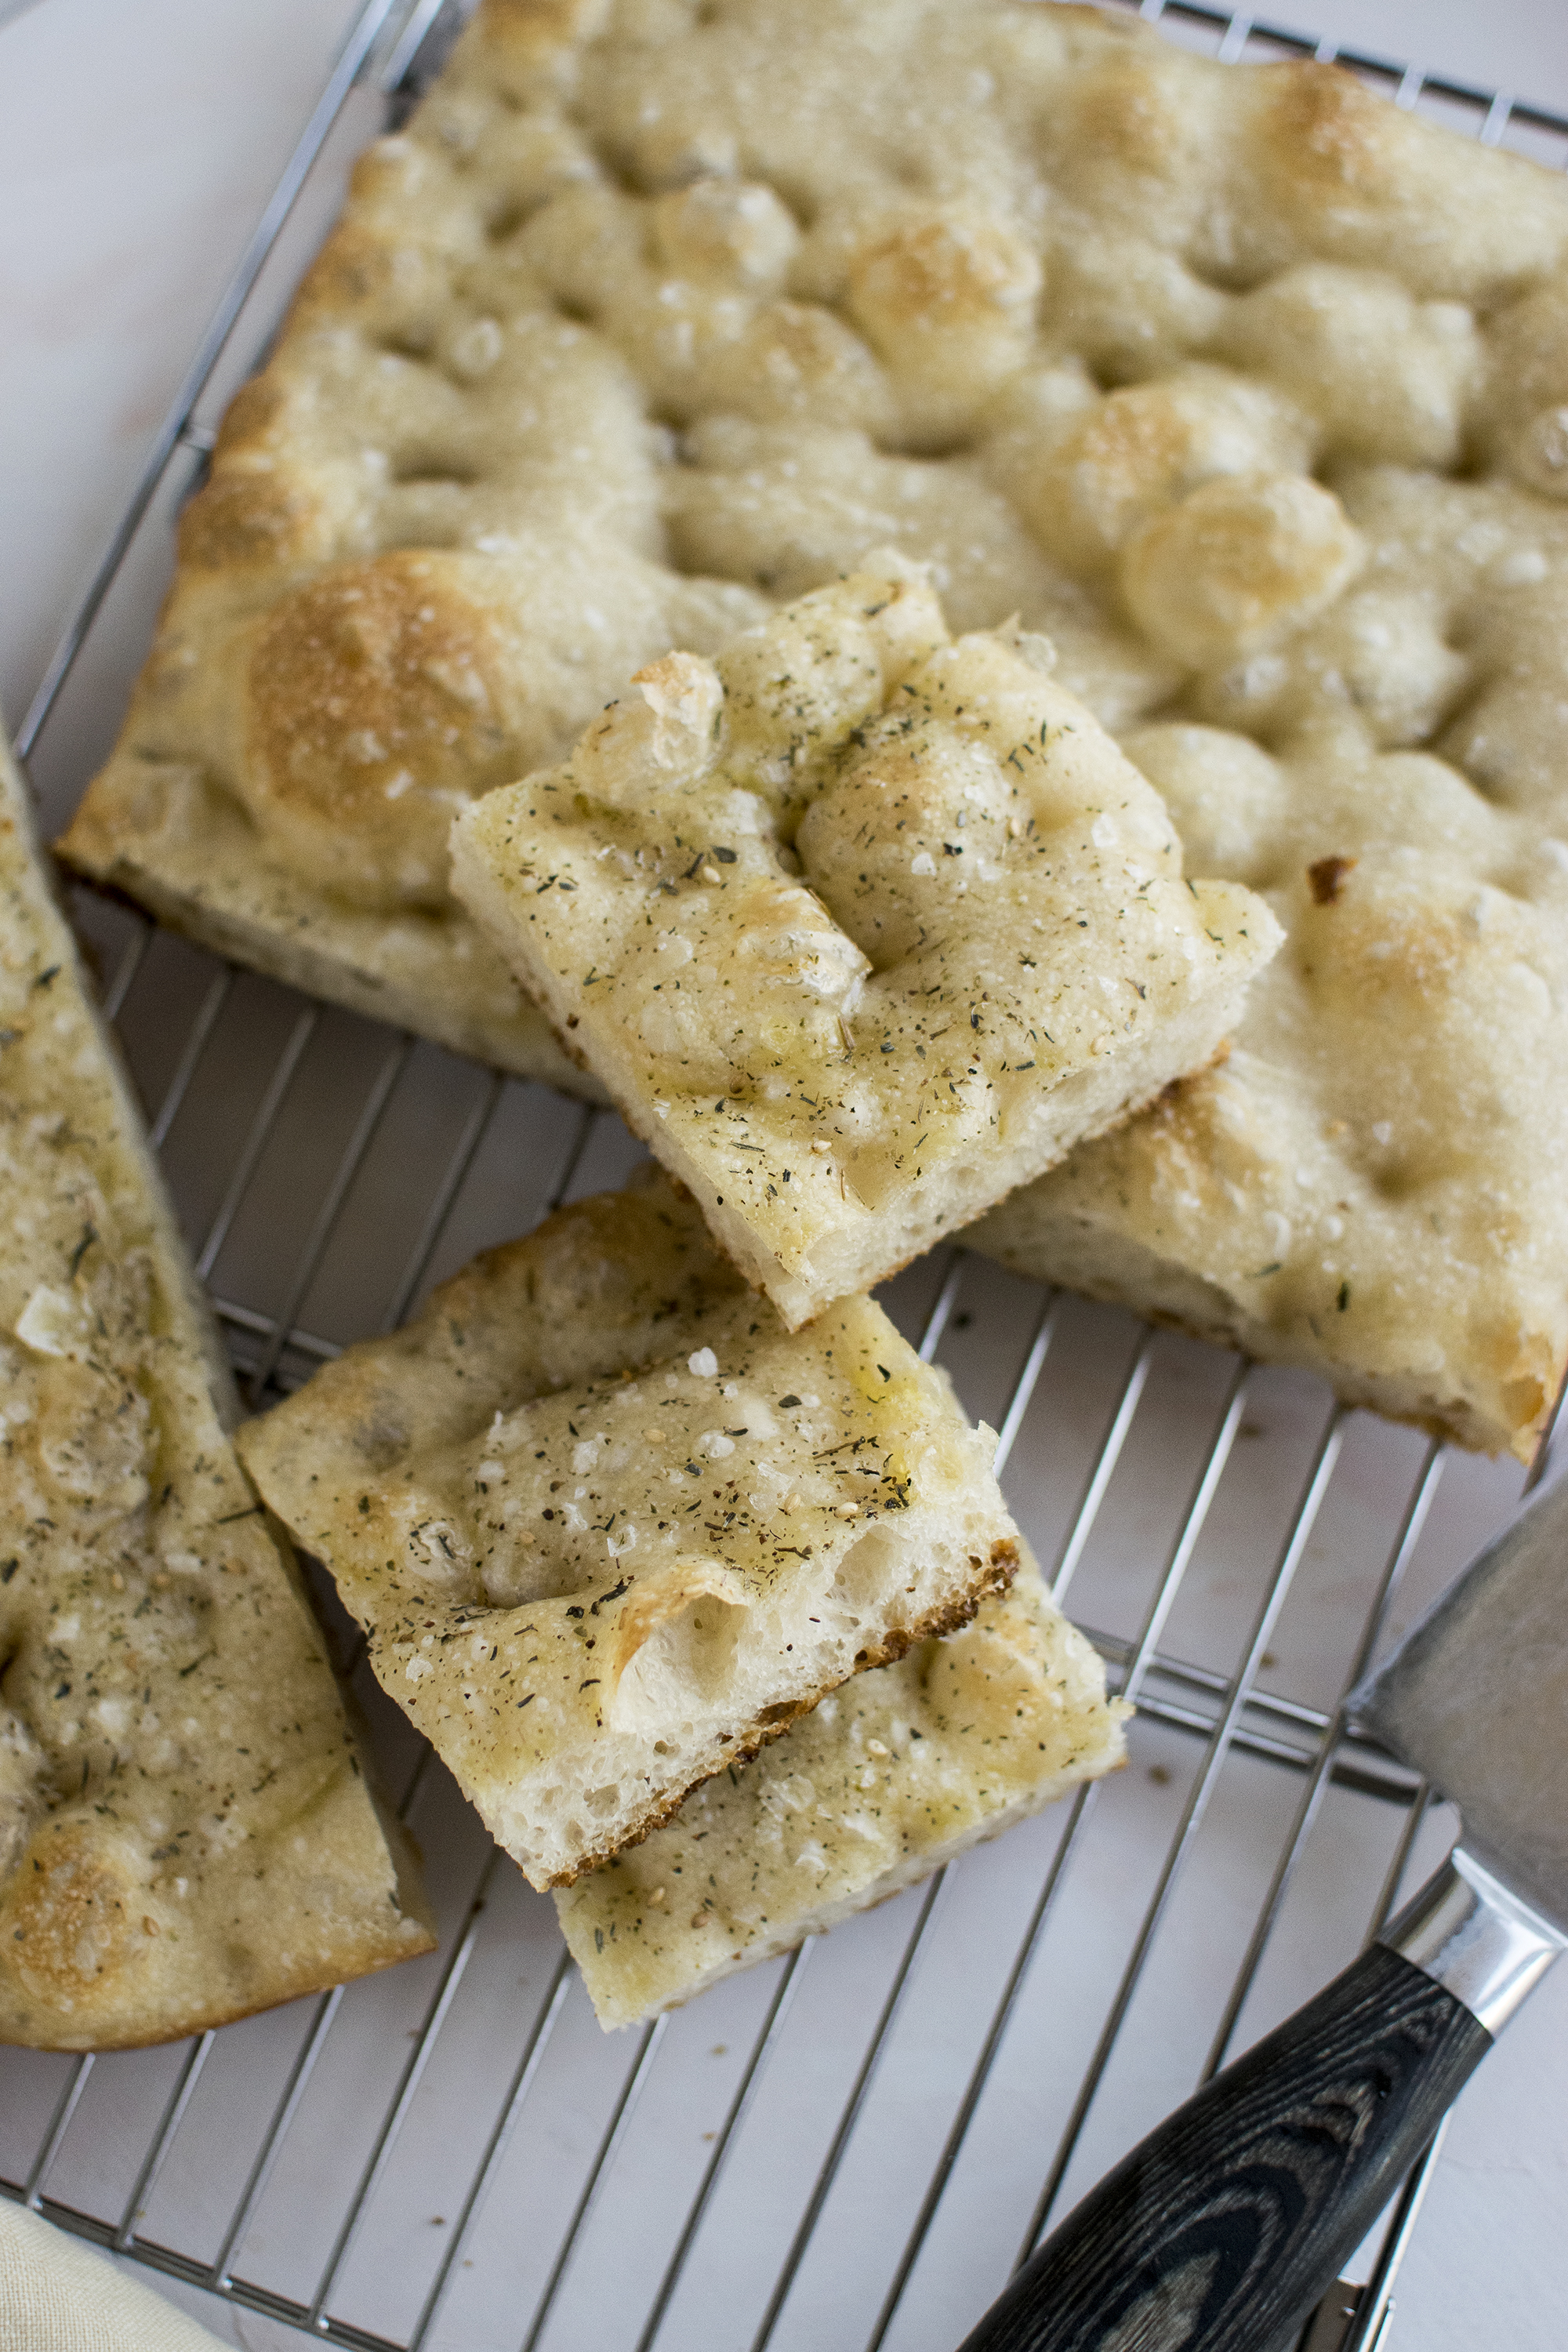
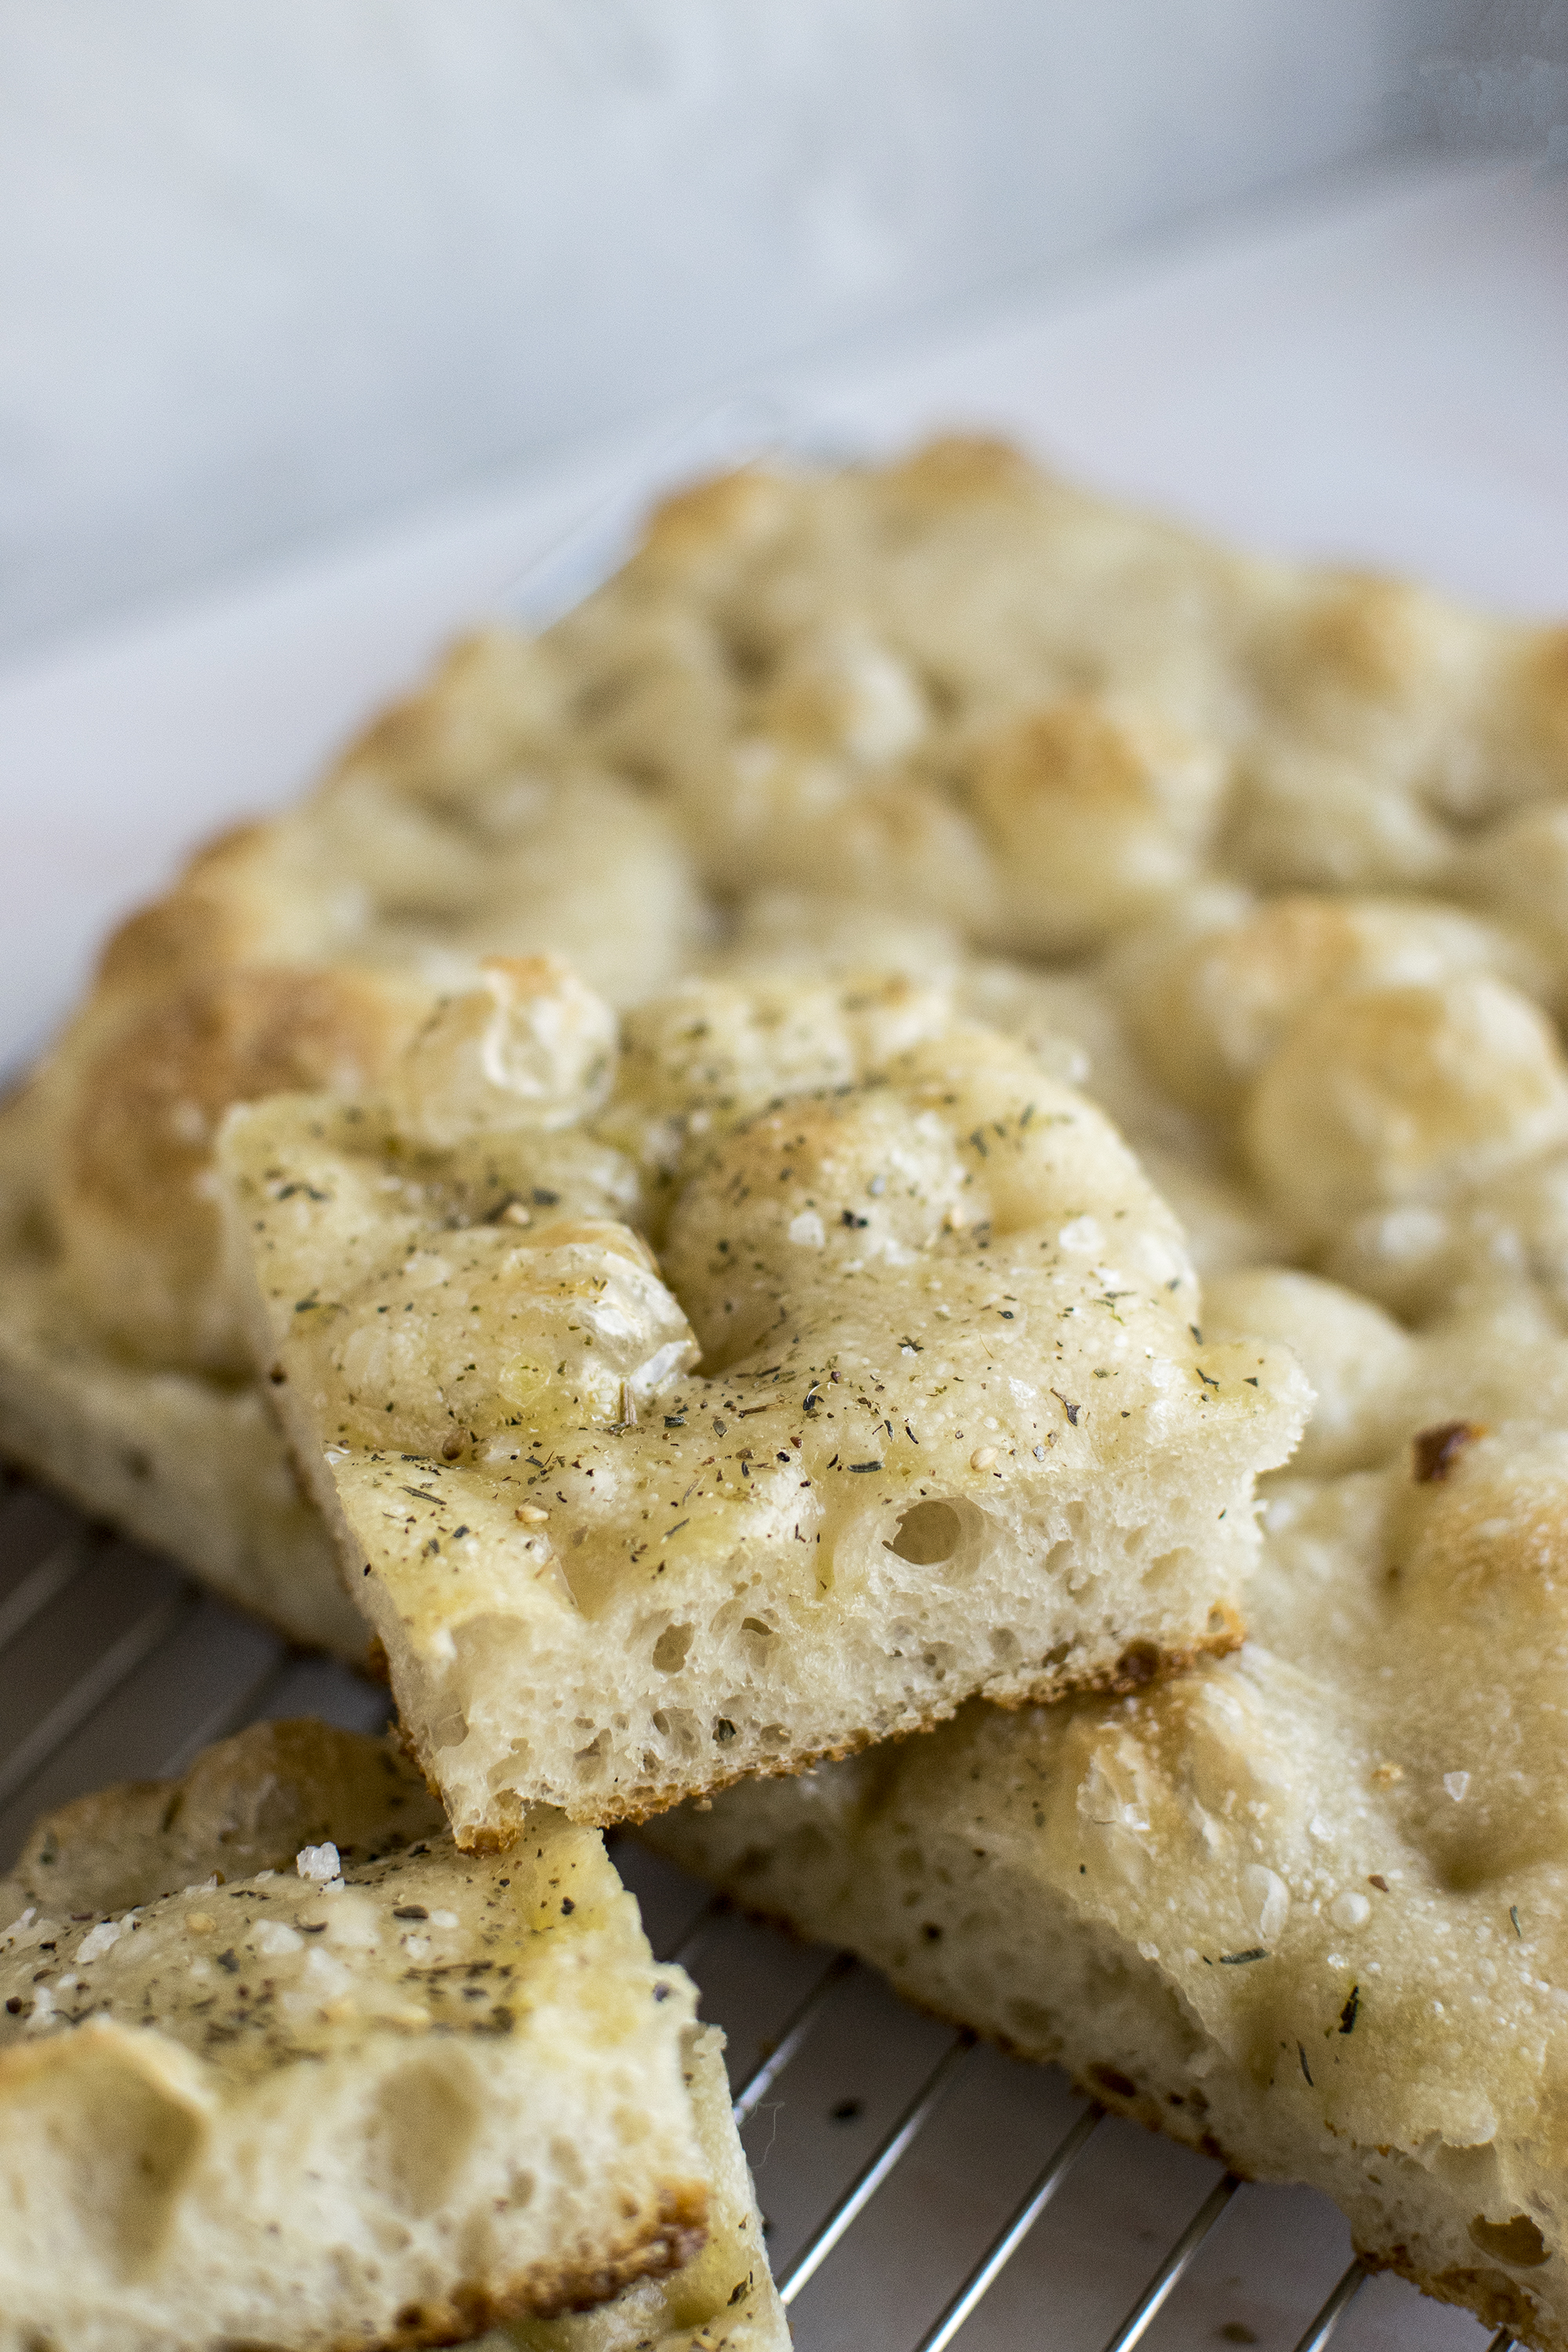
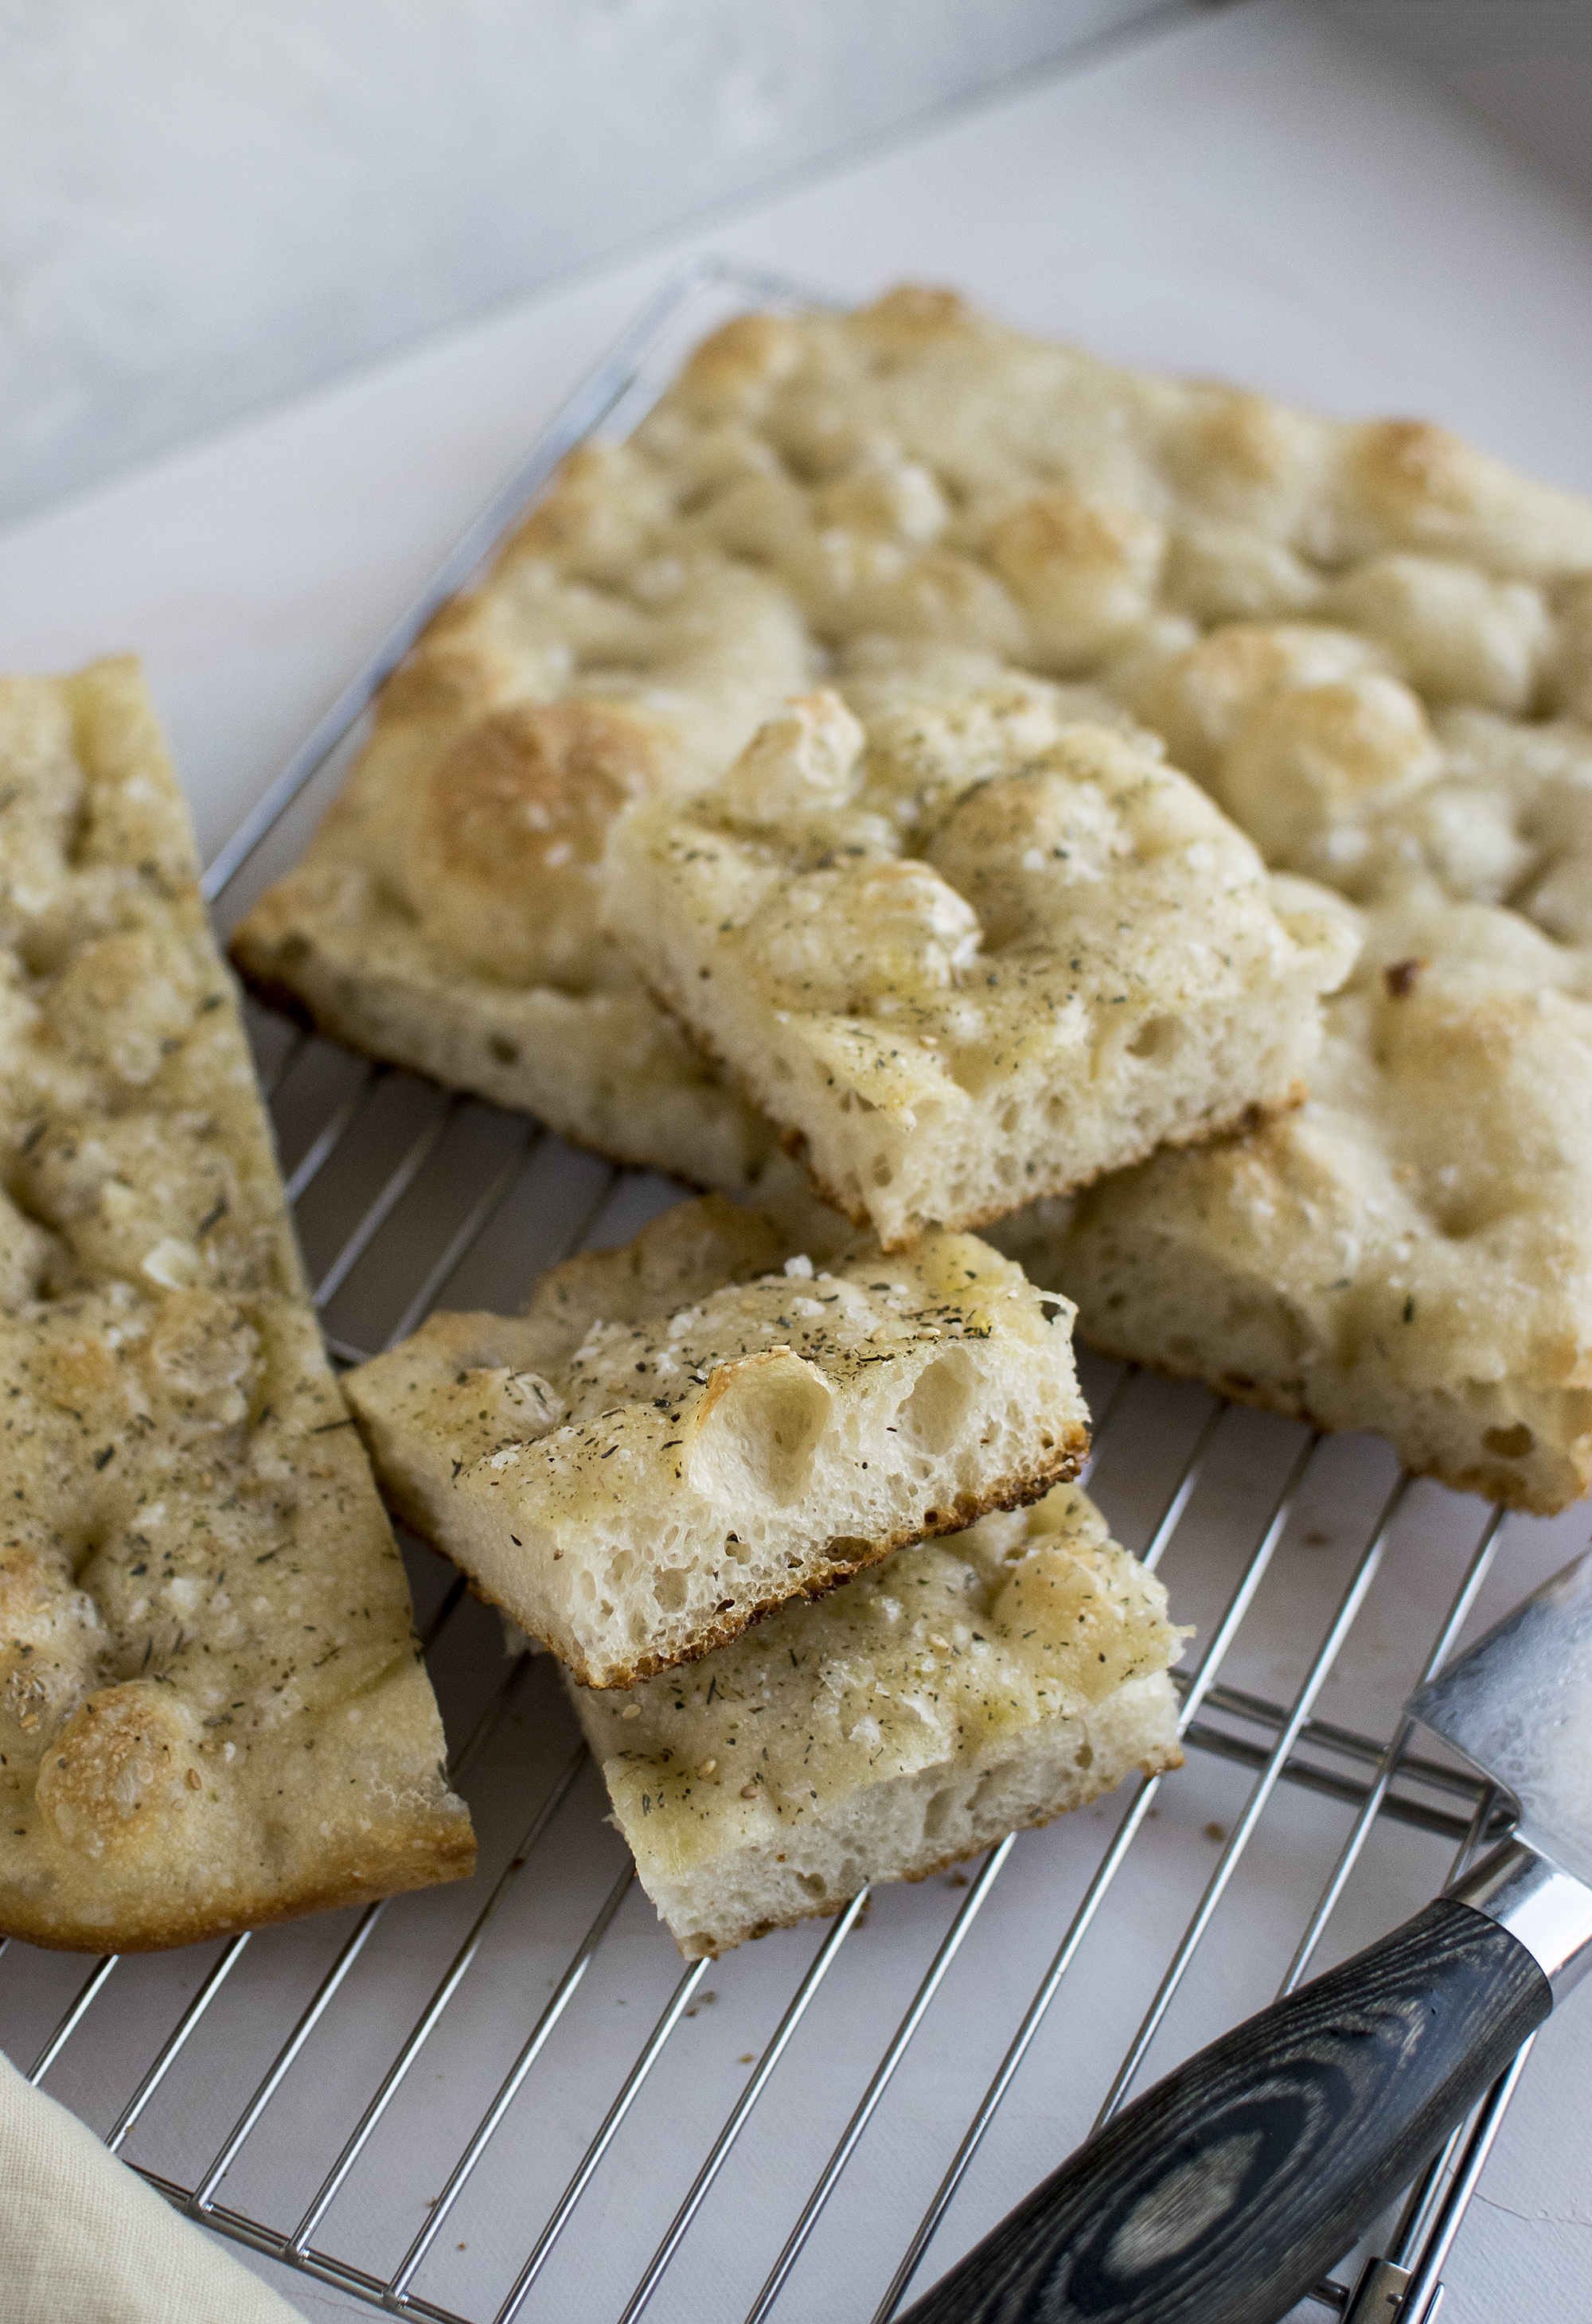
If there is anything better than my bubbly focaccia, then that is my sourdough focaccia. What sourdough brings to the table, besides the rising factor, is flavour and texture. The depth of flavour that you get from using sourdough is quite incredible, the dough gets a sour nutty flavour, it gets more airy and bubbly. For toppings you can go with anything, flakey salt, za’atar ( I know, not very italian, but so delicious), basil and tomatoes, kalamata olives, whatever you like.
Because we are using sourdough we will have a longer fermentation time, so take that into consideration. If you need some indication on how I made my starter, you can check my blogpost here.
Ingredients:
- 50g sourdough starter
- 500g flour (preferably a stronger flour, at least 11% protein)
- 400g lukewarm water
- 5g salt
Method:
- You need a sourdough starter that is at peak fermentation. Therefore you have to feed it beforehand. I usually make the focaccia overnight, so I feed my starter in the morning or around noon. The feeding that I go for is 1:2:3 (10g starter, 20g water, 30g flour).
- In a bowl/container in which you plan to proof the dough add the flour, water (reserve 10g of water) and starter. Mix them together until there is no dry flour left. Cover the dough and let it rest for at least 30 mins to an hour – this is the autolysis phase.
- After this, the dough will already look quite put together, but it is time to incorporate the salt. Add the salt and the water you reserved and start folding the dough to incorporate it. I usually use the Rubaud method as well at this step. This is all the major kneading necessary for this recipe. After 5 mins of kneading and folding, cover the dough and let it rest for 30 mins.
- After 30 mins, do a stretch and fold, cover it, and repeat this step 2 or 3 more times. This will improve the gluten structure, making the dough stronger and more elastic. Why do we want this? Because it will trap the air from the fermentation inside, resulting in a bubbly dough afterwards.
- Drizzle some olive oil on top and gently spread it with your fingers to cover the dough. Cover with a damp towel/plastic wrap and let it proof.
- Fermentation: If you don’t have a very hot environment, you can let it proof on the countertop for 7-8 hours. If you have a warm environment, you should ferment it in the fridge, for 10-14 hours.
- Baking: After proofing, place the dough in a baking tray, that you have previously slathered in olive oil. Choose something that is not too tall, and the dough should be at least 1.5 cm thick. I like to place it in the middle and stretch it out in the tray.
- Drizzle some olive oil on top, and make the characteristic dimples. Add your toppings if you want to, I love using Kalamata olives or herbs. I usually like to let it proof about an hour more in the tray.
- Preheat the oven at 180C. Place the tray in the oven and bake for 30-35 minutes.
- To check if the focaccia is fully baked, take it out of the oven after 30-35 mins, it should look nice and slightly golden, and tap the bottom. If it sounds empty, then the focaccia is baked all the way through. Let it rest to cool down and enjoy!
It is as easy as that to make a delicious sourdough focaccia, and to be honest I think that if you are still intimidated by sourdough, this is quite a great way to start baking.
Let me know if you enjoyed this recipe!
